The Nintendo Switch is a superb gaming console that offers you tremendous fun when playing games. However, there are some annoying Joy-Con connectivity and charging issues. We found the left Joy-Con, in particular, giving us plenty of trouble to us.
I, too, was finding it difficult to know how to fix the left Joy-Con not charging. However, I did some research and found the solution to that. You will be done in no time. In this post, I have provided you with some instructions on how you can disconnect your controllers from the Switch.
Method To Fix Joy-Con Controller Power Issues
Quick Navigation
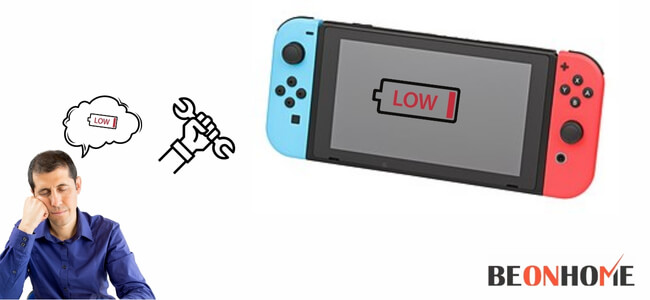
Joy-con may appear like a simple device to you with an easy task. But people using it know that there is often actually a lot happening here with them.
Similar to any pretty much standard controller, the joy-con has got its directional element.
These elements are on the right as well as the left side of the joy-con. This may seem like pretty basic stuff that is having a directional pad and four buttons. It is like this only and we have been making controllers of this kind for decades now.
However, there is an exception for one key difference – the controllers of older generations did not need any charging. We just needed to plug them in, and they were able to draw power from your console itself.
As this requires to be charged to operate, there are often more components that may let you down. Charging contacts being devoid of cleaning is the most common reason leading to charging issues. Hence, you should regularly take care of the cleaning requirements of all parts of your Joy-con.
Other than this there can be any lagging problems involved with your Joy-con not charging. Rebooting can help you fix the latter one. Here, below
we have provided a stepwise guide for how you can fix your left joy-con not charging issue.
1. Go-To System Settings
This is the very first thing here you have to do here. You should make sure that both slots of your switchboard are occupied by Joy-cons. After you have placed Joy-cons into the Switch you have to go to the System settings.
2. Controllers And Sensors
Now after you have tapped the System settings menu. Next, the thing you have to do is to select from the given list of Controllers and sensors there. Tap on the option when you find it.
Disconnect Controllers.When you tap on the Controllers and sensors in the menu you will be able to see the Disconnect Controllers option there. You have to select and click on the Disconnect Controllers option.
3. Hold The “X” Button Until You Get Confirmation
On the right Joy-con, look out for the “X” button. You have to long-press the “X” button until you get a notification of confirmation. The confirmation will be notified as stating that all controllers have been detached. Then you have to press OK.
4. Then Fully Power Off Your Nintendo Switch
Now discard both the right and left Joy-cons from the Button. Long press the power button on your Switch and power off the device. Don’t just leave your Switch on sleep mode, just power it off. Let it be for 60 seconds and therefore power your Switchback on.
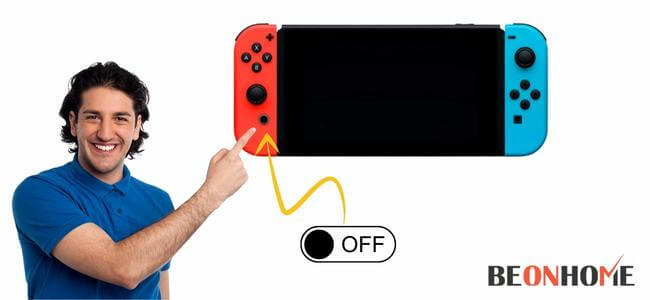
5. Turn It Back On, And Reconnect Your Joy-cons
When the Switch powers back up, the next thing is to attach your Joy-cons again.
They should automatically reconnect now without any complications!
You don’t need to do anything now. You can start using the Joy-con after they automatically reconnect in a few seconds!
6. Problem Solved!
This should have fully solved your problem and you should have been now operating the Joy-Con without any setback. Nevertheless, If you observe that Joy-con is still having some issues you can again then remove both Joy-cons.
This is the point where you can try this from the switch. You can head on to the controllers and then choose change Grip/order.
How Do You Charge Dead Joy-Cons?
Charging can be confusing to some users, especially to those who have a habit of using older models of the same. But trust us it’s simpler than you think. Just follow the given steps that we have prepared for you. You will be able to charge your Joy-con.
The Joy-Con’s charging in the following ways given below along with Nintendo Switch – OLED Model:
- Connect the Joy-Con with the Nintendo Switch console and switch it on.
- To do charging of the Joy-Con while staying connected to the Nintendo Switch, the console should be compiled to the AC adapter. Its power should be on.
- Charge the console, while it is attached with the Joy-Con Charging Grip.
- Attach the Joy-Con with the Joy-Con Charging Grip.
- Assemble the your Joy-Con Charger Grip with the Nintendo Switch port with LAN port. Do this by making use of a USB cord that was contained with the Charging Grip. You can also attach it immediately with the Nintendo Switch and it’s AC adapter (HAC-002).
The Joy-Con is able to be charged in the following ways given below with Nintendo Switch:
- Attach the Joy-Con with the Nintendo Switch console and then power it on.
- For the Joy-Con to be able to charge while being affixed to the Nintendo Switch console, the console should be attached with the AC adapter and switched on or in Sleep Mode.
- Charge the console while integrated with the Joy-Con
- Now, Connect it to the Joy-Con Charging Grip.
- Attach the Joy-Con Charging Grip to the Nintendo Switch dock with the help of the USB cord. This would have been contained with the Charging Grip. Or you can attach it shortly to the Nintendo Switch AC adapter (HAC-002).
How Do I Know If My Joy-Con Is Charging?
If you are wondering how to know if your Joy-con is charged, we are here to assist you in the same. For this, you can simply test the icon on the controllers’ column of the Switch’s dashboard.
Follow the given below steps to view the same:
- Go to the home menu, under “Controllers” (the controller icon in the settings)
You will see the indicated battery level. Without numbers, only a battery icon is shown.
It simply denotes if the controllers are charging or not, but generally, people play handheld. So, it is often difficult to examine the same. - Actually, there is no other path to notice if a completely charged icon is certainly at 100%. Even if it is almost close to that, you cannot actually notice when it is finished. You can expend more to purchase a charging hold; that blinks a light to denote a complete charge.
Final Talk
In this article, we saw a complete guide on how you can fix the joy-con not charging. We saw the steps are extremely simple and the job can be done in no time. Joy-cons are a very important and loved part for gamers. Therefore, any issues with them are really a nuisance in between their quality time.
But as we saw, fixing this particular issue of charging is very easy, and thank god it requires little patience. We hope we were able to help you to return you back to your interest quickly. Thank you for reading our article till now.


Leave a Reply