Electricity is used to power the fence. The gate handles have electricity-conducting metal bars. They run through the centre, which is encircled by an insulated plastic cover. Let’s have a look at how to install Electric fence gates and handles.
Steps To Follow
Quick Navigation
Step 1: Getting Started
- Make a plan for your layout: Determine the spacing and quantity of wires you’ll need to build electric fencing. This will be based on the area of your plot. Set aside a specific area for your electrical enclosure. Then take careful measurements and choose an adequate fence height.
- Dimensions: Determine the length, height and quantity of wires required. To get the greatest rate, ask your retailer to price the cables per foot.
- Various Chargers: Different chargers are designed to work with different cable lengths. Check this with your supplier. Ensure that the charger you choose will work with the length of cable for your enclosure.
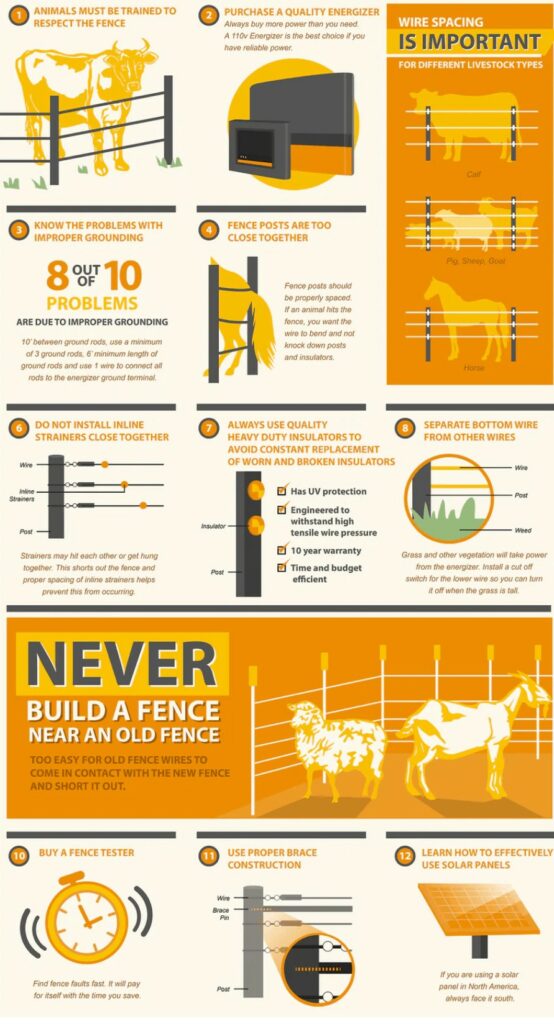
- Number Of Brace: Determine the number of brace corners you’ll need. With 6 or fewer lines, 1 brace will suffice at the ends and corners. When installing fencing with seven or more lines, a double brace is required.
- Get enough fence posts: While wood posts are robust and useful, they do have a tendency to deteriorate with time. Metal posts are the easiest to install on the ground but maybe more expensive.
- Choose a charger: A charger that keeps electrical current flowing through the fence wires is required. They need a specific amount of sunlight. This, in your location, can be a cost-effective and energy-efficient solution. An AC outlet is required for electric chargers. Instead of buying a charger with a foot or mile power rating, look for one that is rated in joules. This makes a high-joule charger the best option. If you’re fencing a five-acre property, you’ll need at least a joule.
- Select your wire: Electric fencing can be installed using electric fence tape or a straight wire. The straight wire is the deadliest, and tape is the easiest to spot. Coated wire is also simple to spot and install. Half-inch tape is too little for a more solid fence, especially if you want to keep horses out or deer out.
Step 2: Setting Up The Fence
- Set up your charging station: Install an electric charger near an AC outlet in a weather-resistant location or you can install a solar charger in a location that receives plenty of sunlight. Do not switch on the charger until the fence is in place.
- Connect a grounding wire to the circuit: The wire must extend from the charger’s ground terminal to all grounding posts. Using a grounding clamp, secure the wire to the posts.
- Place your fence posts in place: As a general guideline, at least 1/3 of the overall length of your post should be below ground level. Corner posts should be wider in diameter than side posts. Also, corner posts should be set with at least 1/3 of their length beneath the ground and/or well braced.
- Install the insulators: Insulators are necessary to install. They keep the electricity in the cables and away from the posts. Manufacturers include and design insulators matched to their products.
- Best Insulators: They provide space for braided or rope style fencing to pass through. This will prevent rubbing.
Step 3: Testing The Line
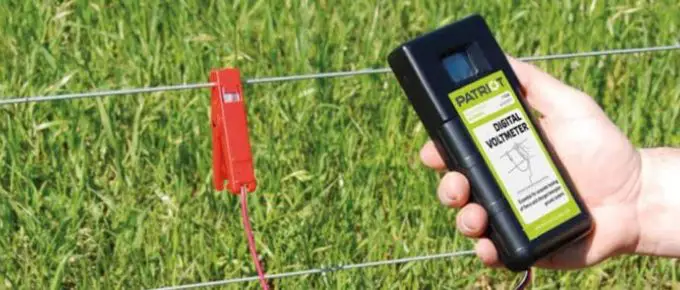
- Switch on the charger: Test the lines using a voltmeter. It will check if electricity flows throughout the fence. Make a note of the voltage and keep it on hand to compare to daily current checks. Unconnected, it should read between 6000 and 10,000 volts. It depends on the strength of your charger.
- Charge the line and check the voltage again: Check the current on a daily basis. It’s a good idea to check for signal difficulties on a regular basis. Moisture and vegetation growth can cause transient current leeching. This might result in lower voltage readings. If your current is lower than usual, it’s time to take a closer look at your job and make any necessary adjustments.
- Clear Path: Maintain a clear path between your fence and shrubs and weeds. The growth of grasses, bushes, and weeds along your fence might cause a voltage drop. Then spray the area with a glyphosate herbicide to control plant growth.
Things To Consider?
Your electric fence’s fence gates should be carefully prepared ahead of time. Drawing gates into your blueprint can avoid cutting cables and repositioning posts.
Electric fence gates are straightforward. The majority of rules are dictated solely by your goals. Here are three general rules to follow:
a. Don’t Forget About Current
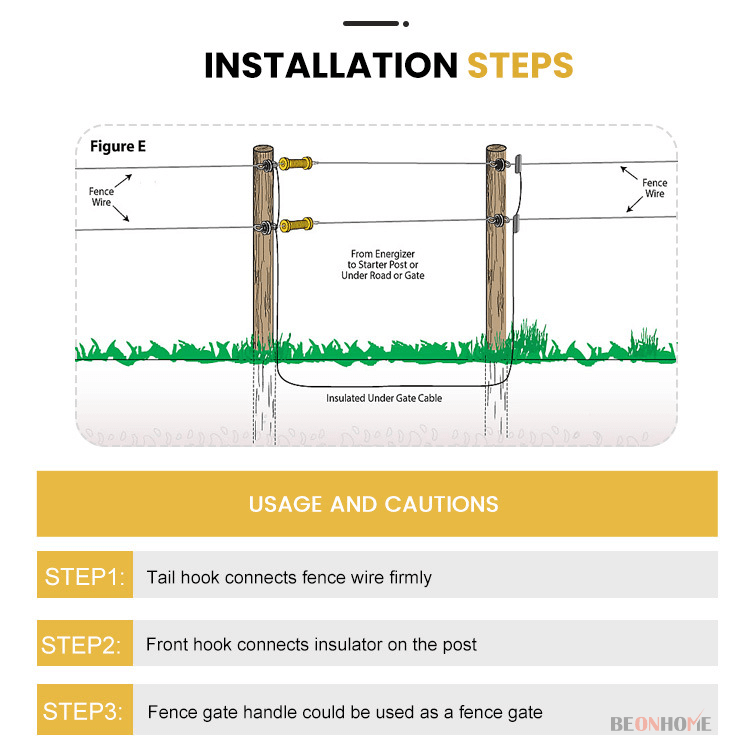
If you want your fence to stay electrified while using the gate, you must run an insulated wire beneath. The stream can safely flow from one side of the fence to the other. It will not be disrupted by the opening of the gate.
b. Don’t spend on fancy gates
Until it’s necessary don’t spend too much on fancy gates. If you have internal fences that divide your pasture into smaller pieces. A solid metal gate along the perimeter of your fencing would suffice.
c. Place gates near corners of the fence
Rather than placing fences in a straight line, you can place them in corners. The fence’s corners split it up and hide the fact that there are hot wires at the opening.
d. Fence gate material
While there are many fence gate materials available. Most people choose to keep things simple. Wire gates and drive-thru gates are convenient options.
Wire Gate
Install gate anchors between the wires on the two closest posts. Then, run wire between the two anchor points, and attach an insulated gate handle. At your local hardware shop, you can get a whole kit for less than $10. But first, a word of caution. These kits are frequently designed precisely for the wires and posts you’re utilising. Before you make a purchase, be sure you read all the facts. You can have a digital fence tester to always check your wired fence.
Drive Through Gates
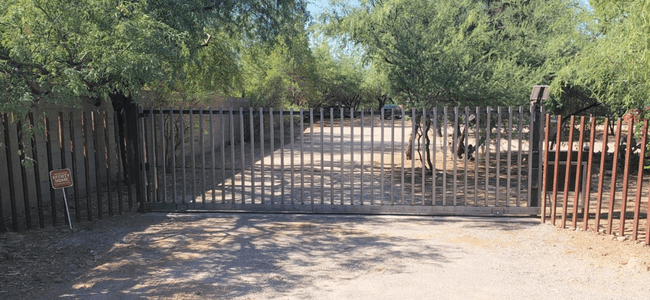
These gates are usually made up of two horizontal poles. Those poles move inwards and outwards. It depends on which way the person or vehicle is travelling. The vehicle’s basic insulation eliminates shock. The gate’s insulated handles allow pedestrians to push the gate open without damage.
Benefits
1. Low-power consumption and easy-to-maintain
To set up and maintain an electric fence. It consumes relatively little power and can run on a 50W supply.
2. Shock that isn’t lethal but has a lot of power
Electric fences deliver a powerful yet safe shock to invaders. This creates a psychological barrier in their thoughts.
3. Alarm Generation
Provides a variety of local and remote audio-visual alarms, and SMS/EMAIL notification.
4. Solar-capable
It can run on solar power, making it more cost-effective and environmentally friendly.
5. Software Integration
Can be linked to third-party video management systems. Then it will integrate with cameras and security management systems.
6. Psychological Obstacle
With just one touch, the intruder’s shock is forever recorded in his mind. Shocks are more frightening to humans than spikes.
How Much Do It Cost?
Gate installation can cost $75 to $400 for a 4-foot-wide gate. And $150 to $800 for an 8-foot-wide gate, according to Thumbtack. Wooden gates are the most affordable, costing between $75 and $150. A chain-link fence is also present.
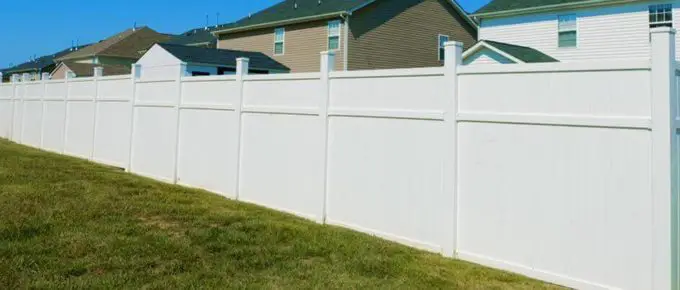
Vinyl gates are more expensive, ranging from $300 to $400 for a 4-foot gate to $800 for an 8-foot gate. Gates that are more than 8 feet wide might cost more than $1,000. Both materials and installation costs are included in these price estimates. You can get a good vinyl fence under your budget.
Final Talk
Summing up, here are 4 reasons why you should install Electric Fence.
- Most Cheap Security System,
- Upmarket and Aesthetic as compared to Barbed wire
- Concertina coil
- Easy to Install or Assemble
- Solar Ready


Leave a Reply