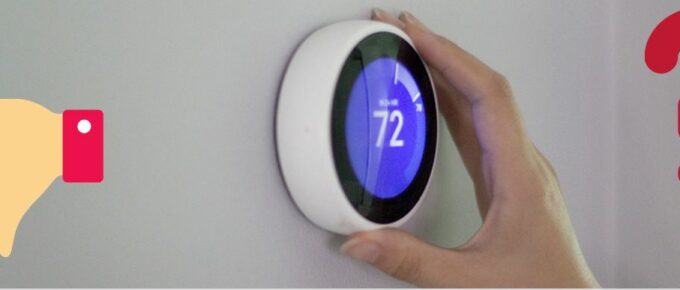
Nest thermostats manage the temperatures according to the house and the outdoor temperature. It has become very useful to those who do not want to set the temperature themselves.
But then, smart devices can be wrong in some places and show the wrong temperature based on what is already there.
We have answers if you own any such device and are looking for why your Nest Thermostat is reading the wrong temperature.
Please do not forget to check what is in there in this guide. Read the above paragraphs to understand why the Nest thermostat can read the wrong temperature.
How To Fix Nest Thermostat Reading Wrong Temperature
Quick Navigation
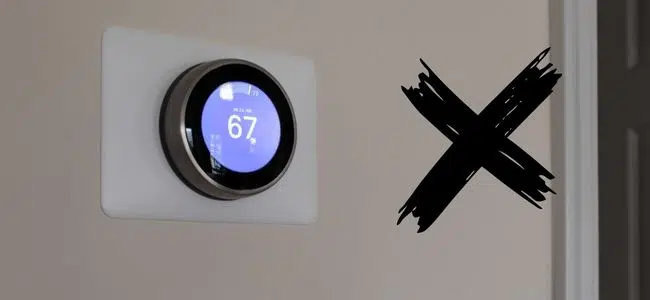
Many people start to worry about the device and look for ways to make it right, which is what we have covered. If your device to has been showing the wrong temperature.
please check out the possibilities of getting the wrong information:
- The thermostat can often show the wrong temperature due to the adaptation in your home; when you install a new device, the thermostat takes time to adapt to the temperatures. One of the reasons can also vary from if the Nest thermostat is attached or mounted at the right place or corner.
- Whenever you install the device, wait for some time for it to know the temperature of your house, i.e., cooling and heating patterns. The average time to let the devices set is 48 hours and no shorter than that.
- After waiting for the mentioned time, if the device does not show an accurate temperature, try holding the button for five seconds. Periodically wrong temperature lessons can be because your Nest thermostat was attached to a heated wall.
- If the wall is heated up, then this can cause Nest to read a more elevated temperature than the basic room. The nest thermostat must be seated in an area where it will not be impacted by warmth from devices or direct sunlight.
- Users can read the wrong temperature as it consists of two different temperatures; the actual and the target. The actual temperature is discovered on the right side of the device and consists of small font.
- The other one, the target temperature, is located on the left side of the device and consists of large fonts. The best location to install the Nest thermostat is where no appliances are attached and do not attach the device anywhere there is a metal surface.
How do I calibrate my Nest temperature?
To calibrate a nest thermostat means the device can read the room’s temperature and set it correctly. Read out the steps to know how you can calibrate nest temperature;
1. Check the accuracy of the device
Begin the first and the initial step to calibrate the nest temperature by checking whether the device shows an accurate temperature on its screen.
Make use of the thermometer to check if the temperature is correct or not; stick to the thermostat using tape on the thermostat, and it will show you the room temperature.
After waiting for a final check of the temperature and if it is the same as the above-mentioned thermostat and if the reading comes same, it means that it is accurate
2. Restart the Thermostat
This is one of the best ways to calibrate the device Nest Thermostat. Begin the process by holding the ring of the device till it gets blank. It will back up the settings and features and start running again.
Once the device restarts, the temperature should be the actual one and correct, and to make sure of it please check the temperature shown on the screen of the device
3. Clean the nest thermostat from inside
Even if resetting the thermostat did not work then, one of the options left is to clean the thermostat from the inside. Start by removing the cover of the nest device and then clean every part of it.
Make sure to use a soft fabric and ignore rough and rugged components as they can damage the device. Do not forget not to make use of any machines to clean the nest device as it can damage it in some way or the other
4. Straighten the mercury
If the device holds a mercury vial, it can be bent and cause problems related to calibration. Make use of an eyeball to check if it is straight or not and if you find the vial bent, then make use of level so that it gets straight
5. Revise the screws
If you adjust the screw, it can help you calibrate the thermostat. The screw can be found in the inside part of the folded metal in the thermostat device and after putting it in.
Check the wirings and look out for any damage or breakages in the wires themselves. you can also try cleaning the dirt on the device if you see any with a soft cloth or a cotton one
6. Check the temperature of the device
Once done with all the troubleshooting steps, check if the temperature is correct or not, and even if, following all the mentioned steps, the temperature does not come in the right way.
The only option left is to get the device checked by contacting customer support, as they can check and resolve the issue you have been facing. Do not get worried if the device is not working correctly; instead, take action that could solve the problems.
How do I reset the Nest temperature sensor?
To reset the nest temperature sensor, hold the ring of the thermostat till the screen goes blank for about 10 seconds, and then again press and release the ring to start the temperature sensor and restart the device.
Final Talk
Nest thermostats are a helpful device when it comes to setting any temperature accordingly as it works as a medium of providing perfect temperature to their users.
But sometimes, due to all the reasons mentioned above, it can show the wrong temperature, but instead of freaking out, we recommend you to try all those steps that we have mentioned, and we hope that it will solve all the queries your device is facing.


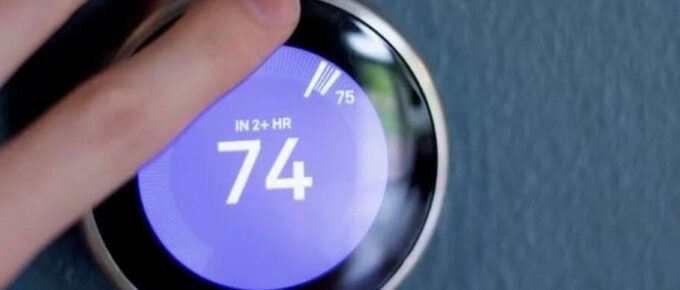
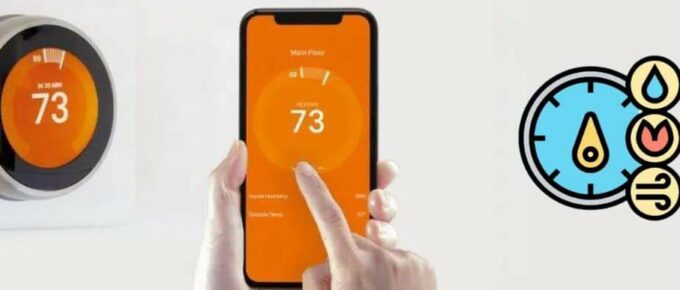
I think the battery in my nest learning thermostat is heating up my room temperature figure by 2.5 degrees Celsius, If i take it off the mount for 5 minutes it cools down to match the other thermostat in the room but as soon as i plug it back in it heats up by 2.5 degrees Celsius. any ideas on how to fix this?