Imagine coming back after a hot and hectic day to enjoy the night in your chilled room with popcorn and binge-watching the series you have been waiting for so long. But then your Nest Thermostat has decided to ruin your plan and denies getting your room air-conditioned.
Yes, you read it right. If you are a long-time Nest Thermostat user, you must have faced that your Nest Thermostat is not turning on the AC. But if you are going through this for the first time, don’t panic; this is your one-stop destination. You will explore the possible causes and troubleshooting techniques to solve the problem.
What Are The Causes?
Quick Navigation
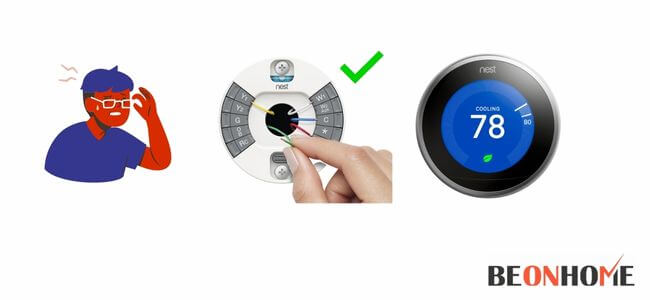
The problem with the Thermostat is that it is not turning on the AC, it is quite common. It is as a result of common causes: some wires might have gotten loose or disconnected.
Some of the possible reasons leading to such a situation are given below:
- There is a particular life of the batteries used in the Thermostat. The issue may arise when the battery gets completely drained, accompanied by such troubles.
- It commonly occurs when the WiFi router is placed far away from the Thermostat.
- Physical agents like dirt and dust are also responsible.
- Prolonged performance of HVAC system.
Method To Nest Thermostat Is Not Turning on the AC
Knowing the reason behind this is not going to help much. So you need to gather some troubleshooting techniques for the perusal of your planned chilling schedule.
1.Insert Your Nest Thermostat Wires in the Correct Terminal:
The Nest Thermostat is a complex construction incorporating several wires. Each wire has to be accurately put into the appropriate terminal.
A loose wire in the terminal or any wire inserted in the wrong terminal hinders the functioning. The wire responsible for controlling the functioning of AC is called RC wire.
So there are high chances of your terminal mismatching to the RC wire. You must identify and insert it into the correct terminal and hope it works out.
2.Replace or Charge your Nest Thermostat Battery:
A low battery will prevent your Thermostat from switching on the AC.The Thermostat battery should maintain an approximate voltage of 3.6 volts.
In case of a long usage period or the end of battery life, the voltage offered might be hindered.
It directly means that after certain intervals, your Nest Thermostat demands new batteries or maybe charging the battery.
3.Move Your WiFi Router closer to your Nest Thermostat:
Nest Thermostat is connected to the WiFi network.If the Thermostat loses internet connection, it is so apparent that it won’t function correctly and, as a part of it, won’t be able to turn on the AC in your direction.
This connection may be lost when the WiFi router is placed at a distant location from the Thermostat.
To counter this, you must ensure that your Nest Thermostat and the WiFi router are nearby. Locating the WiFi router centrally in the house is generally advised. So that all the associated devices can quickly connect.
4.Clean Your Nest Thermostat:
In the preceding sections, we discussed physical agents like dust hindering functionality.
The remedy for this is the easiest and the most obvious one.You should regularly clean and dust your Thermostat to prevent such issues.
5.Regulate the Operation of your HVAC:
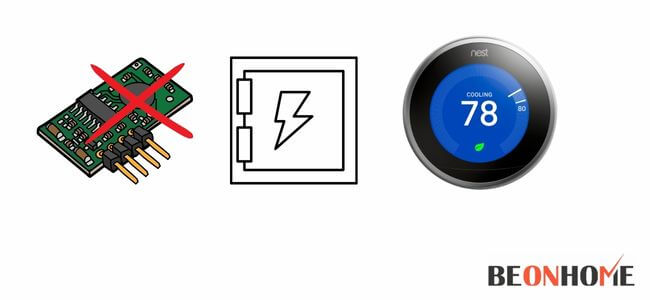
If you are overusing your HVAC system that it wipes away, with its ability to mark temperature changes, you are bound to face this problem.
It is based on the fact that your Thermostat will not be able to detect the cool environment present around; it is actually due to the HVAC system or the natural conditions.
So, the troubleshooting technique is nothing cumbersome here. You have to use the HVAC system, keeping in mind that you do not overuse it, causing a hindrance in its functionality.
6.Turn On Your Nest Thermostat’s Circuit Breaker:
If your Thermostat’s Power Breakers get tripped somehow, the power supply will get disconnected, and most of the time, you don’t get to notice this.
As a result, you cannot identify if your Thermostat is working or has been turned off.
Then, if you see your AC doesn’t turn on even after you have attempted to do so, you have to switch the circuit breaker back again.
7.Reboot Your Nest Thermostat:
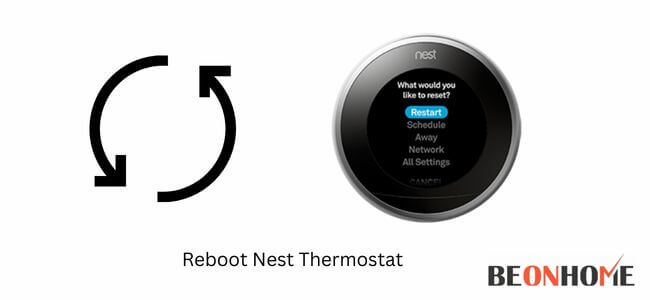
Rebooting any device is the tried, tested, and most efficient method to fix several minor issues. This technique is based on the fact that the system makes a fresh attempt at everything and automatically clears out the problems caused by accidental or forgotten changes you might have made.
8.Switch on AC from the Thermostat:
Follow the given steps to switch on your air conditioner from the Thermostat installed in your house:
- Press the Thermostat’s ring.
- The main menu appears.
- Locate the thermostat icon.
- Rotate the wheel towards the icon.
- Push the icon to select it.
- A list will appear that is the same as on the app.
- Rotate the wheel to choose the cool option.
9.Activate cooling mode on the Nest app:
You must follow this step before switching your AC using your Nest thermostat.
The steps to do so are as follows:
- Open the Nest app on your device.
- There must be a Thermostat button that displays the current temperature.
- Click the button.
- Tap on the Heat option.
- You will now be able to see a list of various options.
- To activate the cooling mode, choose cool from the option in the previous list.
- Adjust the temperature according to your preference by moving the cursor.
- Exit the app.
10.Determine voltage quantity:
Follow the given steps to determine the voltage quantity:
- On the display screen, click on the settings options.
- Click on the device information.
- Click Power.
- You can check the voltage quantity by choosing the battery label.
11.Check compatibility:
The Nest Thermostat is usually compatible with most of the air conditioner brands in the market, but some are not compatible with the Thermostat. Usually, thermostats fail to work with high-voltage systems.
You can check the compatibility of your Thermostat with your air conditioner by contacting your Nest distributor and the air conditioner manufacturer.
If there is a compatibility issue, you need to replace either of the devices with the compatible one.
12.Contact Support:
If you have reached the peak of frustration because of the issue caused and because none of the techniques works out to fix the issue. Don’t lose your temper because the master card is yet to be thrown.
You guessed it right. You may seek technical support from the Nest Support team, which is always ready to assist you in all sorts of troubles.
FAQs
How do I know if my Nest thermostat is working properly?
You can run the test on your Nest Thermostat to check its functioning. Choose Settings on the quick view menu. Click on the Equipment option and continue. Follow the prompts, and you will be able to check its functioning.
Why is my Thermostat AC not working?
Check for the display on the Thermostat. If the screen is not lit, your air conditioner will also not work. Check for the batteries and replace them if they are dead. Also, check if the fuse is blown and replace it.
Will low batteries affect the Thermostat?
Low batteries can lead to fluctuating and wrong readings. When these batteries die, the Thermostat will stop working altogether.
Final Talk
Now you are able to get the issue fixed, and hopefully, this article has been able to help you out in making your Nest Thermostat turn on the AC back again. If not, you may go for the all-time helpful remedy: Contacting Nest’s Support Team.


Leave a Reply