Safety if priority while living with the family. It is necessary to keep all the security gadgets to handle any mishappening. Similarly, you can replace wired alarm door sensor to enhance the security and make your fearless. Let’s explore the step by step guide to know better.
Steps To Change Wired Alarm Door Sensor
Quick Navigation
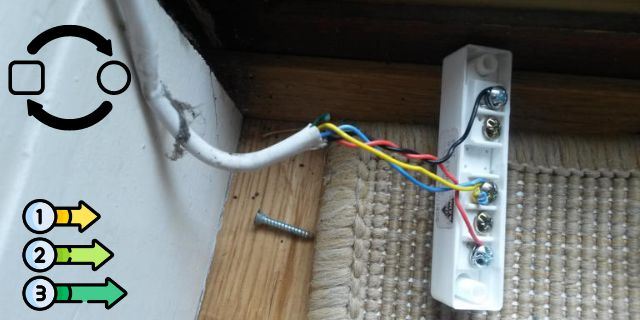
A wired alarm door could be the best option for you to keep your family safe, however, it needs to be changed on a certain occasion for better protection of your home, but before leaving him to replace the wired alarm door sensor, one must also be aware of different types of alarms for your home.
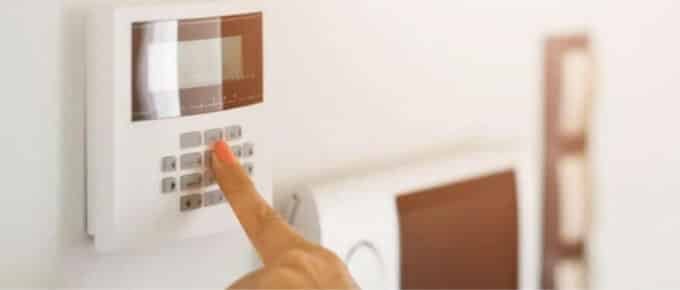
There are three different types of alarm systems available in the market for your home, including a Monitored Home Alarm System, Wireless Alarm Sensor, and wired alarm sensor. All three might be different in their work but they provide extensive protection to your home and give ultimate privacy.
Total Time: 31 minutes
1. Remove The Old Sensor
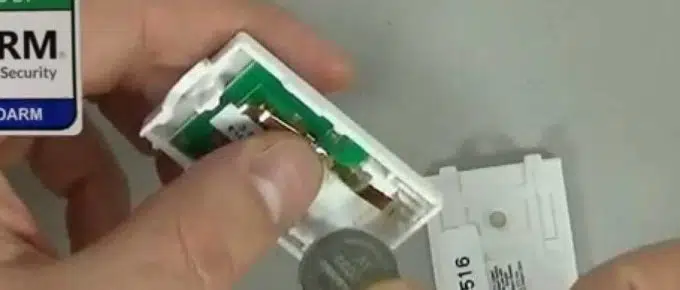
The first thing that you will do is remove the old sensor with the help of the screwdriver. It is an old sensor that should be removed first.
A. Use the screwdriver to remove all the wire from the old sensor.
B. In case, your old sensor does not have wires attached but instead, they are mounted, remove the adhesive tape.
C. After removing adhesive tapes, you will find wires on the wall, simply detach them.
D. Once you have taken out all the words from the old sensor, now you can move or keep all the wires intact in one place.
E. Wires are not effective for further use, however, you can keep the magnets with you for further function.
2. Connect The New Sensor
Once you had removed all the wires from the old sensor, now you’ll move to the next step which is connecting the new sensor. Moving or keeping all the wires intact in one place away from your children is also necessary, however, to connect the new sensor, follow the steps given below.
Once you are done with your screwdriver, use the same to remove all the wires. Now connect all the existing wires to your new sensor door one by one. Use a new set of wires. Make sure that the wires are strong and safe and won’t handily come open.
Connect each wire with patience. You can take a glimpse of the manual for the same. The manual will give you elaborative steps about which wire to connect where. Do not lose the wire, keep them already in hand.
3. Mount The New Sensor
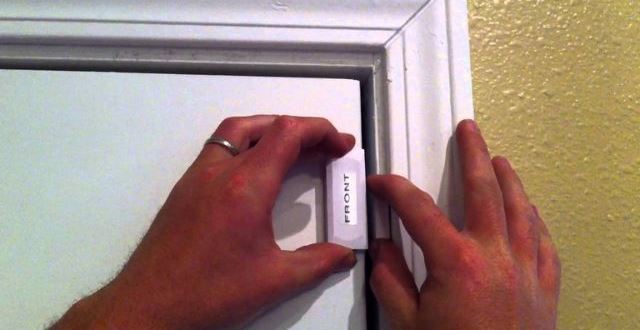
Once you have connected all the wires to the sensor, now you will have to mount the new sensor, it is a crucial step so one must keep many precautions while performing it.
Open the new set of sensors with care, do not miss out on any parts. Make sure that all the parts are available in the box. Now connect your sensor to your home frame, either by using magnets or fixing it by using a screwdriver.
While using the old sensor magnet, see whether the new sensor is appropriately aligned. However, if you are not using the old magnets then you don’t have to change or check then whether the new sensor is appropriately aligned. Attach the sensor to the moving part of your door.
For surface-mounted sensors, attach the sensor with either screws or double-sided foam tape. In case you break the surface of the sensor, then you can attach the sensors by making a hole that is drilled into the door frame. The size of the hole will depend upon the surface of your sensor, if there is a larger surface then make a large hole if not, then a small hole would suffice.
Make sure that the new sensor and magnet are connected and very close. There should not be a spacing gap larger than 0.5 inches.
4. Test The New Sensor
After setting up your sensor, now the last step is to test the new sensor. While testing the sensor, make sure your sensor is in testing mode. To check whether it works fine, keep moving your door and close it then open it more than five times. If the fault happens when the door is unlocked and empties then the door is closed, then the sensor was installed appropriately and the zone was programmed correctly.
Tools:
- Screwdriver
- Adhesive Tapes
Materials: NA
How Do I Fix My Alarm Door Sensor?

To fix the alarm door sensor, you will need to change the wire of the sensor, for that you will require a screwdriver and a tape.
- Start by fixing the screwdriver, tightening the grip will give better results.
- Use the screwdriver to remove all the wire from the old sensor.
- In case, your old sensor does not have wires attached but instead, they are mounted, remove the adhesive tape.
- After removing adhesive tapes, you will find wires on the wall, simply detach them.
- Once you have taken out all the words from the old sensor, now you can move or keep all the wires intact in one place.
- Wires are not effective for further use, however, you can keep the magnets with you for further function.
FAQ
1. How Do You Remove An Alarm Sensor From A Door Frame?
You can use the screwdriver to remove all the wire from the old sensor and rIn case, your old sensor does not have wires attached but instead, they are mounted, remove the adhesive tape, After removing adhesive tapes, you will find wires on the wall, simply detach them.
2. How Do You Install A Door Alarm Sensor?
You can install a door alarm sensor by attaching the sensor to the moving part of your door. For surface-mounted sensors, attach the sensor with either screws or double-sided foam tape, In case you break the surface of the sensor, then you can attach the sensors by making a hole that is drilled into the door frame. Just keep in mind that you are installing the best-hardwired door alarm sensor for your house
Final Talk
With the help of these steps, one can easily change the alarm sensor on the door without any professional help and ensure safety to friends and family.


Leave a Reply