Open or close a door, and the door stopper keeps it closed or opened for you. Thus, preventing it from damage is what your door stopper will do. So if you are wondering what is keeping your door from banging to its frame or wall, it is your door stopper. Here’s a article for you to know how to install, use and even to replace door stoppers in the easiest way.
How To Change Door Stoppers
Quick Navigation
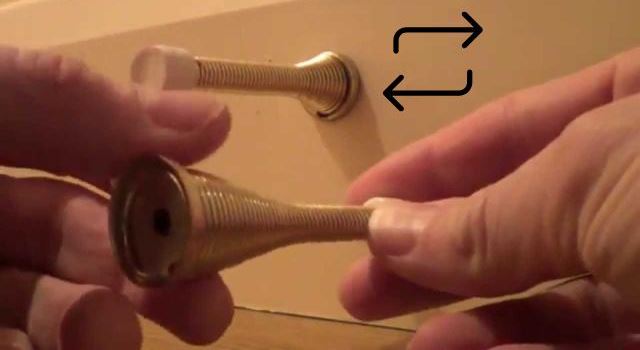
Like lifts, cars, ACs, or any technology making your life easy requires maintenance. A doorstop would also require the same. There are various kinds, and each solves a different goal. The selection of these stoppers takes place with different expectations.
This article is for you whether you want a permanent or temporary solution. A drilled or stuck resolution, or any other factor making you decide, What to buy? Below is a straightforward procedure for you. Refer to his plan whenever you want to replace your doorstops.
The process of replacement has two phases.
1 – Removing the older one
2 – Placing the new one
Tools :
1- The whole equipment
2- Drill
3- Screws
4- Marker/Pencil
5- Screwdriver or Similar Tool
Methods To Remove Older Stopper
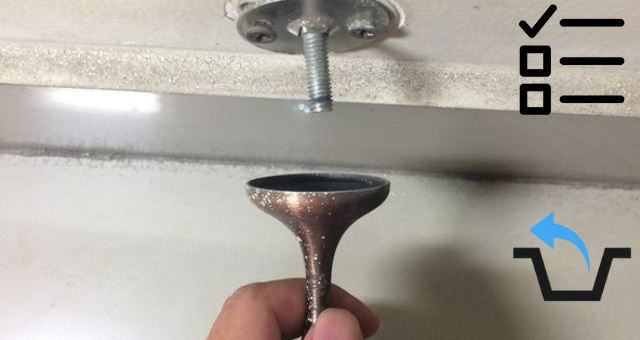
The process of removing the whole equipment is very crucial. There cannot be any damage to the door of any kind. while opening the door stopper, one has to be sure that the holes where a new stop will come are intact
Time – 15 Minutes
Step 1: Buy the same kind – You need to buy a door stopper like the earlier one. It fits precisely in the exact location, same hole, and same way. Buying other stoppers is also an option if you are ready to drill new holes or stick to a new process.
Step 2: Unscrew the screws – The screws are the most crucial part of the game. It is that member who holds the doorstop at its place. This holding makes the doorstop prevent damages from occurring. So, the second step is releasing these and making the stop free. One can use any tool to do this, e.g., Screwdriver (A narrow one)
Step 3: Detach the Catcher – It is now time to remove the catch assembly or catcher equipment from the stop.
Step 4: Remove the whole thing and keep it aside.
1. Placing The New One
Now comes your new installation part. Suppose you decide to go for a new older type of lock. The road ahead is easy for you. The same stopper will need the same gap in holes, just a new assembly. You will have to screw the screws unscrewed earlier, and your stopper is ready to stop. Refer to the steps below. Both wall and door procedures are listed.
Time – 30 Minutes
2. Installation On Door
The process of installation is divided into two parts. First, we begin with working on the door and assembling the parts. Follow the steps below.
Step 1: Take the catcher equipment and start your unscrewing.
Step 2: Detach the mounting plate.
Step 3: Measure the distance between both screws to be put and align the mounting plate.
Step 4: If not already there, make holes and start screwing.
Installation On Wall
Fixing of equipment on the door is done. Next, you have to set the other part of the equipment on the wall. This process will ensure that your wall holds your door.
Step 1: Measure the distance of catch assembly and mark signs on the wall
Step 2: Drill and make holes according to the door mount on the wall
Step 3: It’s a good idea to read the manual if present. It gives an insight into how and where to assemble the parts for easy usage.
Step 4: Press and place the door stopper on the wall to where you want it to be fixed.
Step 5: Tighten the screw and test the door stopper.
Easy, Isn’t it? The total time taken was just 45 minutes.
How Are Door Stoppers Attached?
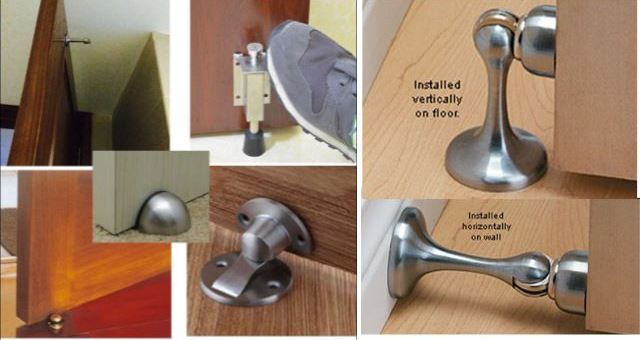
The process of attaching the door stoppers is easy. But, first, you should decide which type of stopper to use. There are various door stoppers, and each comes with its characteristics. The attachment process is somewhat the same. You are measuring the mounts, marking the signs, drilling, and screwing up to fix the stop. Some bring other features too. Next, you decide which type you would like for your door or wall.
Some of the common ones are:
Door/Wall or Fixed post: Fixed on a wall or door and prevents it from a forceful smash.
Wall Stuck: Has a rubber top that stops the door from hitting the wall.
Floor Stuck: Some make holes and screw up these on the bases to prevent both door and wall from banging.
Glue Wall Clung: Quite easy to use, peel off the cover and stick to the wall. The mould helps keep the door away.
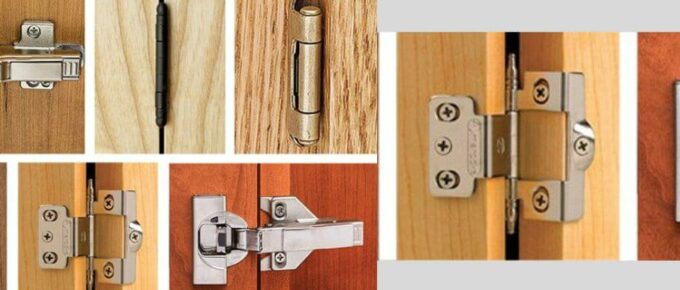
On Hinge: Attach it to the hinge where you think the mount is impossible. It works as great as any other stopper.
Keeper/Holders: As the name suggests, This equipment keeps the door ajar for a more extended period. Pull the door slightly to remove it from a keeper.
These stoppers maintain the gap between your wall and door, and it is vital to have them. The scuff marks on the wall or damage on the door can dent your pocket. Therefore, it is advisable to invest in such equipment. So, choose a good door stopper for commercial doors.
Attaching it can be concluded into three basic steps. These three steps go for any stopper in the market.
1- Mark the marks and make sure you see the signs
2- Drill and Fix the equipment (follow the manual)
3- Check check check! The working of it.
Steps To Remove Before Installing New
Not having a door stopper is like not having someone watch your door. It’s like not caring for your wall or your door in the longer run. One dent can make your wall or door look bad, and the dent then transfers to your pocket. This scenario is when you pay for fixations.
Steps to remove the door stopper are listed above, but one needs to be careful. Removing a door stopper should not hinder installing the new one. The holes drilled should be intact for an easy run. The stopper should be the same as the older one. If not, it is measurement time again.
No removal is required if you plan to install a stopper attached to the hinge. However, you need a screwdriver, some screws, and a drill set. Please attach it to your hinge, and the stopper is ready to stop.
Final Talk
Isn’t it practical as well as stylish to have these door stoppers? They add value to your walls and elegance to your house simultaneously. In addition, they are affordable and easy to install. So before your dents become a talking topic in your group. Take help from this article and get yourself this excellent equipment

Leave a Reply