DISH Network is working hard to maintain an accurate and comprehensive remote code database, but the code provided may not work on the device or may not be currently available. So, here we got you the method to program Dish Remote Without Code.
Method To Program Dish Remote Without Code
Before you start programming your remote, you must understand the model you’re using. This is important because the pairing method differs between older models, such as the 20.0 and 21.0 series, and newer models, such as 40.0, 50.0, 52.0, and 54.0. It’s different from programming a charter remote
If you’re not sure which model you’re using, you can search the MyDISH website for different remote control models and visually compare them to the on-screen remotes.
1. Use The Pairing Wizard From The Settings Menu
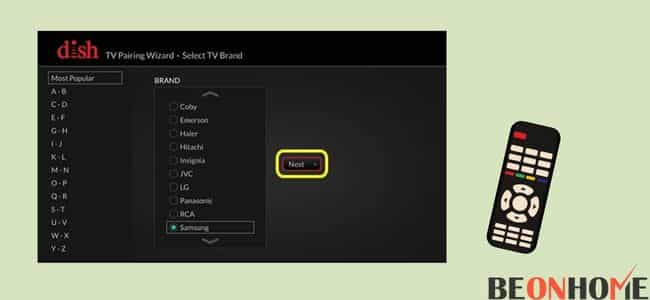
To program a new model of dish remote control without code, you can use the Pairing Wizard in the Settings menu. Programming the dish remote control is easy and can be done in minutes.
Newer models such as 40.0, 50.0, 52.0, and 54.0 require access to the Power Wizard from the Remote Control option under Settings. Thanks to the Pairing Wizard, the remote control will be paired automatically.
Follow the instructions below for assistance:
- Press the home button on the dish remote control twice. The 40.0 remote control does not have a home button, you can press the menu button once.
- Go to Settings and select Remote Control from the on-screen menu.
- Select the device to which you want to pair the dish remotely.
- Click on ‘Pairing Wizard’ from the menu.
- Choose the correct brand for the device you want to pair with your remote control.
- The Pairing Wizard proceeds with several device codes attempts on the device to be paired. Follow the on-screen instructions. This may include pressing the volume or power button to test if the pairing worked.
- If the pairing is successful, select “Finish” on the screen. If not, select Try the following code and repeat the process until it succeeds.
2. Use The Power Scan Method For Older Models
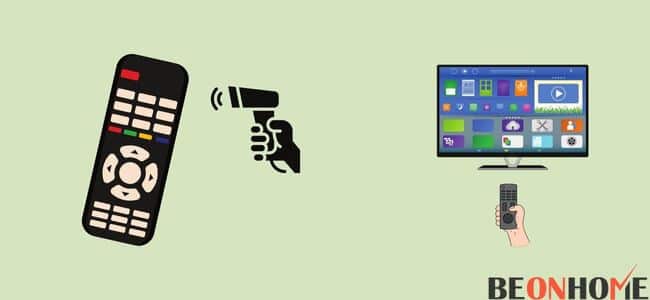
For older models, such as the 20.0 or 21.0 series, use the power scan method, which boots the device code until one works.
Performing a power scan is useful here because it checks and turns off all remote codes while sending a signal. When the device is powered off, you can see that we have found a code that works for the device.
- Prepare the device and remote control for the power scan: Make sure the device programming the remote control is powered on within 10 feet of the device and the remote is pointed directly at the device without any obstacles. This includes entertainment center glass doors and other seemingly see-through things.
- Press and hold the mode button: At the top of the DISH remote, there are four buttons: TV, VCR / DVD, and AUX. These mode buttons allow you to select the device you want to control with the remote control. Hold the mode button you want to program for 10 seconds, and all mode buttons should light up. When you release the mode button, the button you want to program will start blinking.
- Press and release the large red power button: Press and release the large red power button while the desired mode button is flashing (not the small “TV” power button, if possible). When released, the desired mode button will stop blinking and remain lit.
- Start pressing the up button: You can start pressing the up button while the desired mode button is lit. The Up button is just above the Select button. You need to ensure that the desired mode button is off and not on when you press the up button so that the remote control can perform a power scan. Hold the up button for about every 2 seconds. This process might take some extra minutes.
- The device will power off: If you find the code that the device responds to, you know that the device is powered off. When this happens, press the pound key to program the code into the mode key. When you press the pound key, the mode key flashes quickly and then turns off.
3. Pair The Dish Remote With A Joey Or Hopper DVR
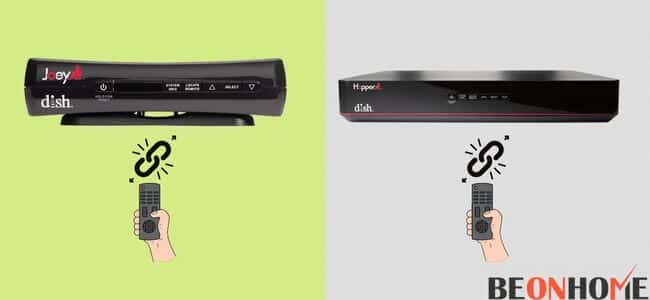
The installer should already have the DISH remote-controlled programmed for the set-top box, but if you run into problems or need to pair a new remote with the Hopper 3 DVR or Joey
Follow these steps:
- Press the ‘System Information’ button on the front of your Hopper 3 or Joey.
- Press the SAT button on the front or side of the DISH remote control. The exact location of the button depends on the model, but it can be in one of these two locations.
- Press the Cancel or Back button on the front of the DISH remote control. The system information screen should disappear from your TV-this tells you that the pairing process is completed.
Moreover, you can install a durable remote control holder to organize your remotes.
Final Talk
However, if you’re having trouble pairing your Dish remote with your device, try replacing the remote’s batteries. If the battery is not enough, the remote control may not be able to send the correct signal that needs to be paired. If that doesn’t work, try resetting the remote control and receiver before retrying the pairing process.

Leave a Reply