You can make a driveway alarm to use around your property so that you receive notifications when animals, intruders, or unknown visitors are trying to enter your house. Based on what type of sensors you choose, the field view will work for the sensors. You can opt for more sensitive models for accessing further distance.
You need not be a professional to set up a wireless driveway alarm. It is a DIY task that you can achieve by following the simple steps enumerated in this article.
What Is A Driveaway Alarm?
Quick Navigation

A driveway alarm detects people or cars approaching a residence via driveway. A driveway alarm system is frequently included as part of a system that performs a task automatically or alerts homeowners about unexpected guests or intruders.
Security, automatic lighting control, home control, energy efficiency, and other useful systems can all benefit from driveway alarms.
Installing this gadget will prevent any unexpected situations because you will hear a chime or beep as soon as the driveway alert sensor is triggered.
Furthermore, some versions allow you to receive a voice message, while others include an optional bell in case somebody has a hearing difficulty.
Although it is tough to prevent break-ins, you can certainly improve your home security by installing a driveway alarm.
In this article, I will brief you on the steps required to install a driveway alarm in our house. This will protect us from robbers and unwanted guests.
DIY Driveway Alarm
Tools (List down tools)
To make a driveway alarm, we need:
- Wire strippers/cutters.
- Drill -drill bits.
- Screwdriver.
- Soldering iron.
- Motion sensor.
- 120v exterior/outdoor wire with plug.
- Big waterproof electrical box.
- Wireless doorbell.
- Connectors.
- Low voltage wire.
- 120v mechanical relay.
- Solder.
Time
Apart from digging a hole and waiting for the cement to dry, it doesn’t take a lot of time to install a driveway alarm. The installation procedure takes only an hour or two. But if it is not installed properly, it consumes lot of our time figuring out where is the problem. Sometimes, it takes time to test the alarm after installation whether it is working properly or not.
Method To Make a Driveway Alarm:
Below are the steps to follow in order to install a driveway alarm:
Step 1 – Dig a hole.
The first step in installing a driveway alarm system is to drill a post hole for your 44-green-treated post about 24 inches deep towards the foot and side of your driveway.
Step 2 – Post hole with rough gravel.
Fill the post hole with rough gravel at the bottom. With a carpenter’s level, square the post into the hole. Stake the post in place and use double-headed nails to secure the stakes.
Step 3 – Fill the hole post.
Then get a bag of mixed concrete and prepare to pour it near the post. Pack the wet concrete around the post with a piece of wood to evenly distribute it and make it smaller. Now, let it dry for some days.
Step 4 – Remove the stakes.
Now it’s time to remove the stake and begin trimming the post with a circular saw. Remove the stakes and reduce the height of the post to two or three feet.
Step 5 – Install the cap.
It is time to install a metal or plastic post cover above the post after you’ve finished trimming.
Step 6 – Place 4 AA batteries.
Place the motion-detecting transmitter head unit on the post below the post cap, and insert four AA batteries. The head should be angled downward and away from the driveway entry. Attach the transmitter to the post.
Step 7 – Connect the receiver unit.
Connect the system’s receiver device to an electrical outlet in the room where you want to keep an eye on the driveway.
Step 8 – Ask for help.
Request assistance from a family member or friend to walk out to the driveway and tune the transmitter while you stay inside near the receiver or vice versa. Change the motion-detector sensor to only generate a “chime” sound when a huge object crosses the driveway rather than when someone drives or walks down the street.
Step 9 – Set the chime sound.
Set the tone of the chime you want to hear. These gadgets can play a variety of traditional chimes as well as melodies. It’s likely that your driveway alarm will have a variety of tones and music to pick from, allowing you to customize your experience. Choose tones that are loud so that they are easier to hear.
Step 10 – Test the system.
Now is the time to see if your driveway alarm is working, so ask a friend or a neighbor to drive past your driveway for you.
Use a garage door remote control system or that of your neighbors to test the system. Set the receiver to one of the 32 possible codes to prevent garage door openers in the area from triggering the chime.
The good news, you will be able to hear the notification or alarm if you did everything correctly.
How To Make and Install different Types of Driveway Alarms
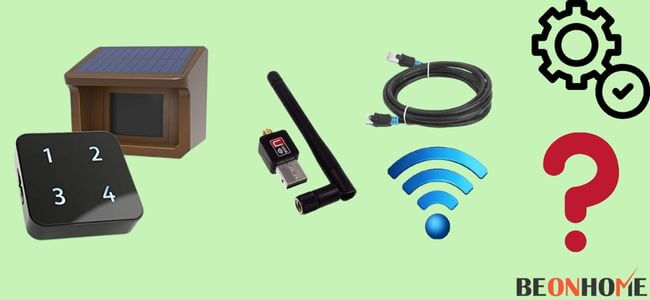
Any driveway alarm serves the function of ensuring security. However, you can justify purchasing the thing, if it is suitable in the way you desire.
There are two primary categories available that you can obtain quickly:
1. Wired Driveway Alarms
A wired driveway alarm, as the name implies, it is something that requires a wire to operate. A plug-in receiver is required for this type of driveway alarm, and a wired sensor offers security.
Although the receiver can be positioned anywhere, it must always be wired to the sensor. Furthermore, the cables must be hidden; thus, they should be buried underground. Moreover you can have an excellent solar-powered driveway alarm sensor with all the features to secure your driveway.
These cables, as well as their protection with tubes, may require the services of a professional.
How to Install the Alarm
- To maximize detecting range, the sensor should be buried immediately next to the driveway but at least 25 feet away from streets, neighbor’s driveways, or heavy moving metal objects.
- The connection that connects the sensor to the transmitter provides some flexibility.
- The TRANSMITTER is positioned away from the driveway in the landscape, hiding or a closer look responding to the receiver.
- The transmitter’s greatest transmission range, the distance between the transmitter and the receiver, is 400 feet. The range can change according to the situation.
- RF interference and topography are examples of environmental conditions.
- It is possible that some adjustments are required.
2. Wireless Driveway Alarms
Wireless driveway alarms are one of those things that people choose to utilize since they are more convenient.
It is becoming increasingly popular. There are few other components, such as a transmitter, which aids in the transmission of signals to the receiver. The antenna is seen as a wire-free option.
How to Install the Alarm
- Select a place for the TRANSMITTER module that is far enough away from the driveway edge to avoid being hit by automobiles.
- Thread the SENSOR cable through the PVC mounting post and into the Transmitter module’s connector at the bottom.
- When removing the transmitter, leave 2″ to 3″ of slack in the cable to avoid damaging the connector.
- Test the intended position before trenching and installing the TRANSMITTER permanently.
How to install the receiver in both types of alarms (wired and wireless alarms)
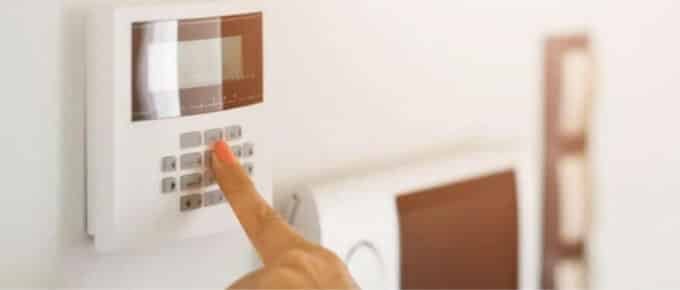
The visitor LED will be cleared by pressing and releasing the center of the receiver (press here to reset).
- To manually toggle the ‘audio alarm on/off,’ press and hold for 5 seconds (or until the power LED blinks).
- When the audio alarm on, the power LED is illuminated continuously.
- When the audio alarm is off, the power LED will glow (very slow blinking).
Important: After 8 hours in audio alarm off mode, the machine will automatically return to audio alarm on mode.
Types of Detection
There are two forms of detection. They are as follows:
1. Random Movement
This type of driveway alarm recognizes anything that goes through its sensor due to random movement. It might be people, a car, or an animal.
You should utilize those driveway alarms if you wish to be informed of everything going on around your home. Their technology includes an infrared motion detection sensor or a break beam sensor.
2. Specific Movement
This form of driveway alarm won’t bother you because it only alerts you when a metal object, such as a car or truck, passes through your neighborhood.
This method uses a metal detecting detector or a probe to detect only heavy metal movement.
How Does Driveaway Alarm Work?
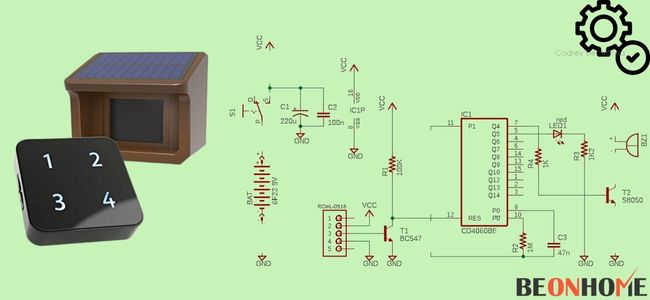
A sensor, transmitter, and receiver make up the majority of driveway alarm systems. Depending on the range of the system, when someone or something passes in front of the passive infrared (PIR) sensor at the start of the driveway, the sensor will transmit a signal to the receiver within the house.
The sensor’s range and transmission distance will be determined by the system you select. Some alarms even have a sensor range of up to half a mile, while others have a sensor range of only 30–50 feet.
Final Talk
Driver sensors are a novel approach to keep the track of who visits our property. These devices are simple to install and cost-effective for small and long roads leading to your garage.
Before learning how to create a driveway alarm or acquiring a security system for your home, consider your budget, the location of your property, and the other sorts of security you require. Moreover, you can cover your Driveway to hide it, You can prefer some good driveway fabrics under your budget.
While buying a driveway alarm, it may appear to be a simple chore, finding the appropriate driveway alarm should be your first priority. There are few things to consider before purchasing a driveway alarm in this scenario.



Leave a Reply