Honeywell Thermostat assures comfort inside your home and saves energy costs. You can have WiFi thermostats enabled with room sensors and humidification controls.
These are available in programmable and non-programmable options. However, many of us wonder how we install the thermostat without a C wire.
Don’t worry; we are here to provide you with all the steps to install Honeywell Thermostat without C Wire
Method To Install Honeywell Thermostat Without C Wire
Quick Navigation
A C wire should be present while installing almost all Honeywell Thermostats. Smart Round Thermostat is the only one that would not require a C wire. The function of this wire is quite simple.
It is a common wire connecting the WiFi thermostat with heating and cooling devices. The C Wire allows a constant flow of 24V AC power to the thermostat.
It’s a wire that connects your furnace to your thermostat. It empowers the thermostat using energy from these devices. Let us look at the steps to follow:
1. Get The C-Wire Adapter
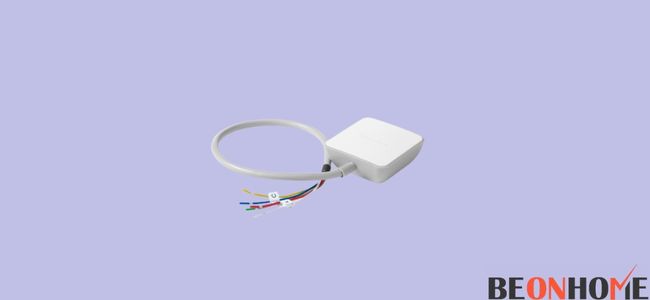
Yes, a C wire should be there but it will stop the work if you don’t have it. This step is for you. C Wire adapters are readily available in the market that replaces your C wire.
The installation will not be a problem if you have thought of this adapter. This long-lasting equipment is cheap. Not much effort is required, and it indeed solves all your problems.
Good News! A C wire adapter will already be present inside your Honeywell Thermostat. Ensure getting a lifetime guarantee and an adapter that suits the Honeywell thermostat. Give priority to safety and quality.
2. Check Terminals
Have a look at the terminals. You can access this part after unscrewing the screws in the plate. The designs may differ according to the type you bought. The structure, however, is the same in all the thermostats.
Following are the terminals that we will use:
- The terminal that gives power to the thermostat – R Terminal
- The terminal that provides control over the fans – G Terminal
- The terminal that offers control of the cooling system – Y1 Terminal
- The terminal that provides power to the heating system – W1 Terminal
The R terminal is for powering the thermostat, which gets done when the circuit completes. Make sure the wiring is correctly done, otherwise, the thermostat will start flashing return.
3. Make Necessary Connections
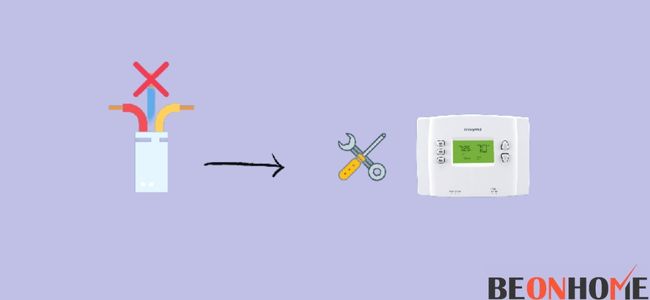
As things are aligned, we can begin with connections. Before starting wiring, ensure that the power is turned off for your safety.
The connection of your old thermostat is still intact. Ensure remembering how the wires are put in the terminal.
We suggest you take a picture of where to connect which wire. It will make your new connection go very quickly.
The wires for your heating system go in the W terminal. The cooling system goes into the Y terminal. Use the G terminal for fans to add.
4. Connect The Adapter
Ensure to connect all the wires to the terminals. You will have to make a slight change because it is without a C wire. The wire in the adapter will go into the R terminal.
After this step, ensure another wire goes into the C terminal. Do not confuse yourself as to which wire goes where. You can go ahead and put any wire in C or R Terminal.
Make sure the connection is intact. No part of the copper particle should be outside of the adapter. We ensure that the power flow goes from the R to W wire and empowers the thermostat through this connection.
5. Put it Back.
After completing the connection, you can put the thermostat back. Do not put the power on yet. Wait until you put the thermostat back on to prevent a device or short circuit damage.
Keeping the thermostat off before tightly placing it is precautionary. Ensure this because the wiring is low voltage type.
6. Power ON
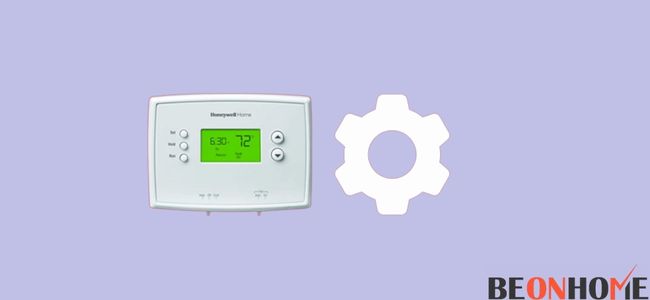
Plug it and switch your Honeywell Thermostat on, empowering the whole unit. You will have to wait for the blink on the thermostat. When this happens, the thermostat is good to go.
We recommend a C wire adapter to complete the installation. If your walls are partially complete, run the adapter wires through the wall.
Also, ensure that you follow through with the protocols. Installation should entirely cover the thermostats. This step helps for efficient working.
The Voltage Offerings
Honeywell thermostat comes in line voltage and low voltage systems. The standard voltage for heating and cooling systems is 24 Volts.
We advise you to look at the older thermostat (if available) to decide whether you need a line or low voltage.
The world is getting more innovative, and so are the pieces of equipment. For example, a C wire thermostat ensures more power than a WiFi-based thermostat.
Batteries will drain trying to maintain this level. Some houses use a thermostat with a large and colorful display. One can imagine how much power these devices will need.
How To Install Honeywell WiFi Thermostat Without C Wire?
Honeywell WiFi thermostats have been in use for years now. The installation is effortless and can solve a bigger problem.
Have a look at the steps in this section for a successful installation:
Tools – (for installation)
- Drill
- Screwdriver
- Pencil/ Marker
- Wire Stripper
- The Setup box of the thermostat.
Tools – (inside the packaging)
- Wire Chamber
- Back Plate
- Trim Plate
Guide To Installation
- Step 1 – Cut the power and get in your protective clothing and gloves.
- Step 2 – Remove the thermostat’s outer cover, which gives you access to screws.
- Step 3 – When you unscrew the screws, you see different wires. Click a picture of these wires to remember which one goes where. You can also refer to the pointers above to see the terminals these thermostats comes with.
- Step 4 – Take the whole equipment out and hold the wire outside. Use a pencil to keep the wire outside.
- Step 5 – Now, insert the wires inside the new wire chamber—Mark the spots using a pencil where you will drill the screws.
- Step 6 – Drill it now and fix the wire chamber correctly. While you are on it, straighten up the wires.
- Step 7- Put the wire inside the ports and screw them tight at the position. Now is the time for your adapter to come in. If you do not have a wire, connect the wires to the adapter and the adapter to an outlet.
- Step 8 – Your process is almost done. All you need is to remove the jumper from the R and Rc port and insert the wire. Cover the Honeywell Thermostat and switch the power on to let it function. Ensure to plug the adapter into the outlet.
Enjoy control over fans, cooling, and heating systems. After the setup, get the app downloaded from the play store.
You just would need to make an account by putting down the credentials. Once done, the control is in your hand, using your computer or the app on your mobile phone.
App Name – Total Connect Comfort – Honeywell
Final Talk
We also gave you an option of a NO C WIRE BASED thermostat that is easy to install. You can follow these steps whenever in need or can get expert help if required. Ensure taking precautions on safety parameters.
Leave a Reply