You can install driveway markers in easy steps to clear the snow during the winter months. Understand which stake to use, place the spike point in the desired marker location, and apply force downwards to let the tool touch the ground using a kick plate and handle.
The driveway markers are available at a variety of heights. They are also shorter than the original sign of the road. They can also be utilized as snow marking in northern areas. They show the boundary of a driveway. The use of a stake in the ice allows the product to remain stiff. Further, it can be dragged inside the soil without any difficulty. In this sector, driveway signs are essential equipment.
The worker who removes snow will focus on snow stakes of good quality to have them in the ground soon to make the most of:
- Time.
- Energy.
A Guide To Install Driveway Markers
Quick Navigation
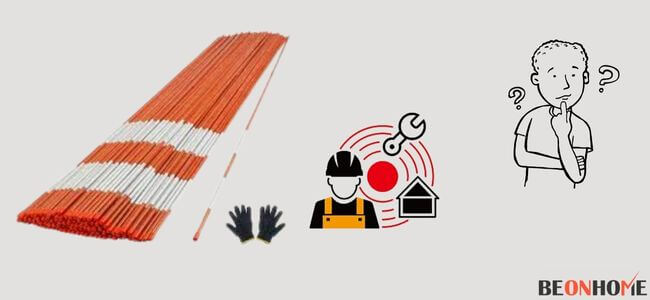
It is an easy job to put driveway markers. But it will become a harder task in November and December when the weather becomes cooler.
Additionally, driveway markings can be difficult to set up on the concrete ground. The installation of these markers is very important in the process of clearing snow.
This is a suitable method to ensure a simple and quick setup.
About the tool:
- Masonry bit.
- Battery-powered drill.
- Hammer.
STEPS:
- Decide which stake you want to use. (The markings of the driveway should be of different colors so that it is easy to distinguish hurdles.)
- Put the point of the spike into the desired location of the marker.
- Put the force in a downward direction till the point of the tool goes down and touches the ground with the help of:
a) Kick Plate
b) Handle
Thus, it helps the stake go into the ground straighter and more accurately rather than doing it with a drill bit. So, as you drill a small hole, the square located near the spike as support does not allow the spike and kick plate to:
a) shatter
b) crack.
- Take out the spike and place the driveway marker in its place.
- Reverse the setup tool. An area close to the handle will slip across each stake.
Use:
a) Kick plate as a handle.
b) Shaft of the tool as a slide hammer.
To push the stake into the ground a little more.
Proceed to another location and choose the second marker to place.
Points to Remember:
- As there is no point of reference for snowplows workers to know in which direction the route ends and starts. Thus, it is beneficial to work all over the curb to maintain the field.
- Your plants and other things protected from the snow are at risk of being attacked by the edge of the plow. The cost of repair can be ignored by securing the area with driveway markers in winter.
- Spend a little time this fall to complete some essential repair jobs. As a result, you may feel confident that your area has markings on the driveway.
Moreover along with the markers you should also install a driveway alarm sensor under your budget to maximize your driveway safety.
How To Install Driveway Markers in frozen ground?
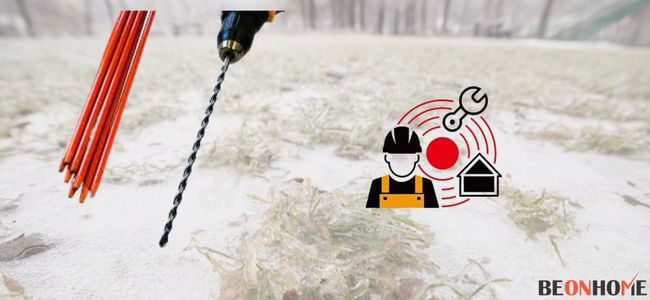
When it comes to ice clearance, one of the basic rules you learn is that you must install driveway markers. It is certainly the simplest and less expensive solution to secure your device.
The steps to install them in frozen ground is:
Step 1: Drill in with any type of soil, including concrete, for a quick and uncomplicated process.
Step 2: Create a hole in which to set the snow stakes.
Step 3: If you drill 10′′ or more, you won’t even need to hammer the rods down.
There is debate about when is the best time to plant them in the snow. This depends on where you live; in certain areas, the surface may freeze before the first snowfall.
The majority of experts agree that in North America, October is the best month. Many buyers have already been planning forward about winter at this point.
Several workers might pause till two to six inches of snow have fallen before plowing for:
- Hospitals
- Institutions
- Elder communities.
How To Install Fiberglass Driveway Markers?
There are a variety of driveway markers to choose from. To begin, users wish to have driveway markings for both elastic and strong. Fiberglass is a one-of-a-kind material that enables these characteristics.
Fiberglass markers are much more expensive. Yet they generally survive more circumstances and recover quickly. Also, fiberglass is available in a variety of colors. Users shouldn’t have to color the points in these types of driveway markers.
The fiberglass driveway markings can be reused year after year. They are usually difficult to push inside the surface with dirt; thus, one can hit them with a hammer.
If users are thinking about how to place these driveway markings, then a hammer is a great option.
The process of placing driveway markers has changed significantly.
In earlier times, workers would:
- Load up a wheelbarrow.
- Take a sledgehammer.
- Spend an entire day putting snow stakes on a moderate size property.
Later arrived fiberglass driveway markers:
Step 1: Take fiberglass driveway markers.
Step 2: Simply tap in with a hammer.
Step 3: To avoid accidental car doors as well as other obstacles. Place them six-twelve inches away.
How To Install Driveway Snow Markers?
The snow marking placement process is where users can save the most amount. The installation of driveway markers is quite clear.
It needs:
- No preparation.
- No equipment, hardly anything.
The steps to install are:
Step 1: They are simply pushed inside the surface.
Step 2: By using a tool, just puncture a hole in the surface.
Step 3: Then, turn the install tool upside down.
Step 4: Apply it as a slide hammer to push the snow stake into the ground to the required depth.
If you’re just a landowner, then plan to place ten to fifty on your land. Unless you’re a professional snow removal operator. It is advised to invest in a heavy-duty snow marker.
Where Do You Put Reflectors On A Driveway?
Apply the given instructions:
- Choose reflectors with the least width of three inches.
- Install double-sided reflectors. Then, place them in such a way that they can be observed from both sides.
- Put reflectors at around twelve ft. from the shoulder’s edge.
- Place reflectors at a height of no more than 5 ft. off the ground.
- NOTE: Reflectors should not be placed on boxes of mail or fixed fixtures.
Coloured (blue) reflectors are recommended. However, colorless reflectors are also acceptable.
Reflectors with red and yellow colors should be avoided. So that people who are driving a car may not mix it with the lights of the car.
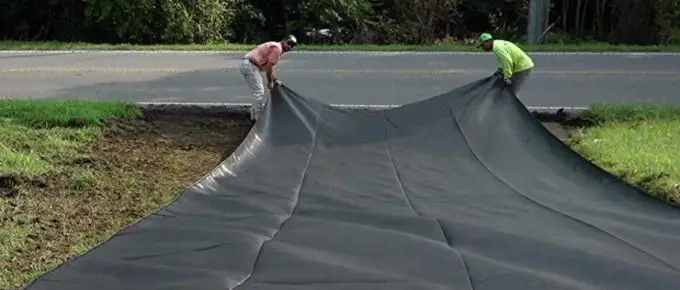
Reflectors that are fixed to a wiring rod is placed into the ground are available in some places. Both of these are valid options. Along with the reflectors, you can also put a driveway fabric to cover your driveway.
FAQ
How Many Driveway Markers Should You Use?
Knowing ways to put driveway signs usually means knowing the number of stakes to utilize. The quantity of snow stakes are necessary on each land varies. Although they are usually simpler to utilize. Before you begin or have installed fresh driveway markers set up. Then, one could scale back if necessary. It is a good idea to install 1 marker every 10-15 ft.
Where to Place Your Driveway Markers?
Experienced workers promise to set them one to two inches apart from the roadway. However, that option provides little room for snow heaps. This could also result in multiple stakes being destroyed. Therefore, one should contact someone for a recommendation on where to put them. To account for unforeseen car doors and any obstacles, space them six to twelve inches away.
Final Talk
People who live in colder climates should know how to place driveway signs well before snow hits. Once winter comes, it is best to clean and label the routes of roads in your driveway. This will support you in identifying the side of the road margins when the snowplow arrives. Moreover, You can use a moisture meter to check the ph of your soil if you use to garden on the ground.
It will also make the process quick. Thus, it is beneficial to use these markers to ensure both the safety and security of an individual. People should understand its importance. Moreover, they should gain some knowledge to avoid several problems in winter.




Leave a Reply