So, after reading numerous internet publications and scouring various forum posts, we put up this one-stop guide to assist you in resolving the audio problem with your Roku TV.
This post will provide a step-by-step tutorial on how to execute each of the remedies listed above so that your Roku TV can resume normal operation.
How To Fix Sound Delay On Roku TV
Try rebooting the device, changing the audio settings, double-checking the connections, and resetting the device if the audio on your Roku TV is out of sync.
Other possibilities include turning on and off the volume mode on your remote, pressing the Star (*) key on the remote, erasing the cache data, and changing the video refresh parameters. We have explained each method below in detail:
1. Power Cycle Your Roku Device
Rebooting is the most typical troubleshooting method recommended for practically any electrical equipment.
Rebooting the device helps to remove any faulty code that may be present in the system’s memory, restoring the device to its original state.
To power cycle, your Roku device, unplug it from the wall outlet, wait a few seconds, then plug it back in.
2. Change Audio Settings To “Stereo”
If the preceding remedy didn’t work, the audio latency is likely caused by incorrectly specified settings.
The audio settings on your television are the easiest to fix. Switching the audio options to ‘Stereo’ should immediately solve your problem.
For this, you should follow these steps:
- Select the home button.
- Scroll to find the ‘Settings’ option, then select it.
- Choose ‘Audio’ from the drop-down menu.
- ‘Stereo’ should be selected as the audio mode.
- Switch from HDMI to PCM-Stereo.
This will bring the audio back into synchronization. Switch from ‘HDMI and S/PDIF’ to PCM-Stereo if your Roku device supports an optical connector.
3. Check All Connections
The aforementioned solution should work the majority of the time. You must also check your internet connection to see if it’s reliable.
If your internet is slow, it can influence the quality of your streaming, resulting in an audio problem.
If you’re using a wired internet connection, ensure sure the Ethernet cable between your TV and router isn’t broken and is connected properly.
For a solid internet connection, you can also check for the finest wired routers on the market.
Loose HDMI or cable connections can also cause problems with your television.
While this may appear insignificant, it frequently goes unreported. This technique works even if your Roku’s sound isn’t working.
To avoid any issues, make sure the HDMI and power cords are connected to the TV.
Disable and Enable Volume Mode on the Remote
Making a quick modification to the volume settings on the remote is one of the approaches that have worked for many consumers.
While it may appear to be too simple to be true, it has shown to be very effective in the past.
It’s simple because you just have to turn off and on the ‘Volume Mode’ on the remote. To do so, follow these steps:
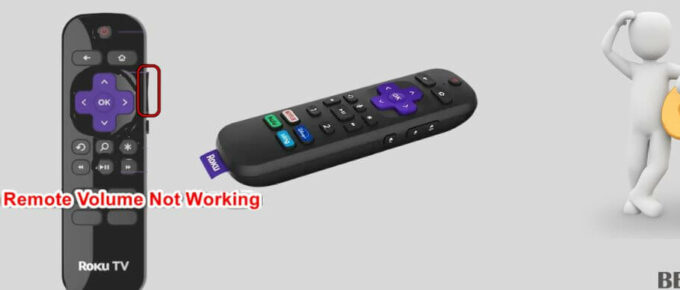
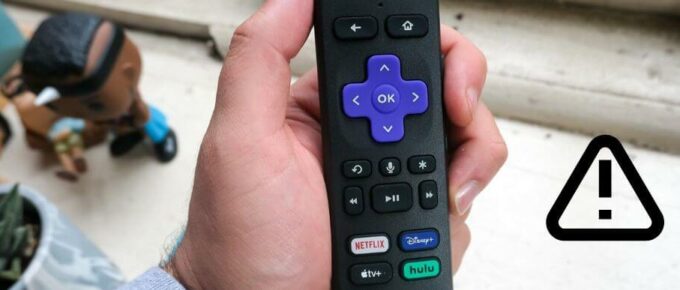
- Press the Asterisk (*) or Star (*) button.
- Go to Volume Mode by scrolling down.
- By scrolling right, you can select OFF.
Press the Star (*) Key On The Remote
Audio Leveling is another parameter you can modify to fast remedy your unsynced audio.
Press the Star (*) button while the TV is on. This activates the volume controls.
Then, on your device, look for the ‘Audio Levelling’ option. Simply turn it off if it’s on, and your audio should be in sync with your video again.
If your Remote isn’t working, you can also try replacing the cells. You can also try contacting Roku for assistance.
4. Clear the Cache

Clearing the cache memory is another solid technique to fix most issues with electrical gadgets.
Clearing the cache frees up additional processing power which can help with audio lag.
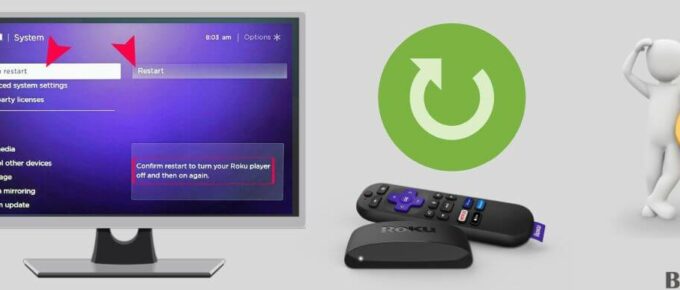
Rebooting your smartphone is the best way to do this. If you’ve previously tried power cycling your Roku device and are still having problems, here’s another option to erase the cache on your device:
- Make sure you’re on the ‘Home’ tab when you open the main menu.
- On your remote, press these buttons in order:
- 5 times press the Home button
- Push yourself to the limit.
- Press the Rewind button at least twice.
- Press the Fast Forward button twice as well.
The device will restart after clearing the cache, which will take roughly 15–30 seconds.
Regardless of the fact that you’re having trouble or not, it’s better to clear the cache at regular intervals. Clearing the cache gives your device additional processing power, allowing it to run at its peak.
There are few things more aggravating than attempting to relax while watching your favorite shows only to have your experience marred by lag.
Fortunately, users from all across the world have indicated that at least one of these patches has consistently worked for them.
5. Adjust Video Refresh Properties
Adjusting your video settings may assist restore audio synchronization, which may seem odd?
When your Roku buffers indefinitely, the audio may go out of sync.
To provide you with the finest viewing experience, your Roku device automatically select the optimum bit rate that suits your network speed. However, you may need to modify it manually on occasion.
6. Reset Your Roku
If none of the previous options solve the issue, the only option left is to restore your Roku to its default settings. this will solve all the sound-related issues your Roku is facing.
It’s important to realize, too, that you’ll lose all of your saved settings and customizations and will have to start over.
Follow these steps to reset your Roku:
- Click the Home button on the remote.
- Scroll to find Settings.
- Then go to Advanced System Settings.
- Click on Factory Reset from the menu.
- Select Factory Reset Everything if you have a Roku TV.
- To complete restarting the device, follow the on-screen prompts.
FAQs
How to Fix Netflix Audio Lag on Roku?
Many Roku users have discovered that the only time their audio and video are out of sync is when they are watching Netflix or Hulu.
Netflix is frequently the worst offender in this regard. However, there is some good news. The issue is simple to resolve. There are a couple of streaming platforms that can override Roku’s sound settings.
The most popular of these is Netflix. So, here’s how to get your Netflix back up and running so you can watch your favorite episodes again:
To begin, turn on your Roku and go to the Netflix channel.
Begin a video or a show.
Select “Audio and Subtitles” from the menu.
Select “English 5.1” from the options.
Why the Audio Goes Out of Sync?
Your audio and video may become out of sync for numerous reasons. It can be because of a poor internet signal in some circumstances.
Other times, the cause of the lag is a complete unknown. The problem usually starts when a commercial or the video is halted, according to most users who have experienced it.
Buggy software upgrades, network issues or glitches, loose HDMI cable input, improper sound settings, sluggish internet speeds, and so on are only a few of the most typical causes.
The broadcaster may be to blame and everyone is having the same problems. This, however, is not the case. Fortunately, by following the methods outlined above, the problem can be readily resolved.
FINAL TALK
That’s all there is to it. Unfortunately, audio desyncing is a regular issue that every users have to deal with. However, as the article above shows, it is extremely simple to repair. If none of these options worked for you, the only option left is to contact Roku Customer Support.
Make sure to list all of the troubleshooting procedures you went through, as this will make it easier for the support team to help you. If the warranty of your Roku device is valid, you will be eligible for a replacement gadget.


Leave a Reply