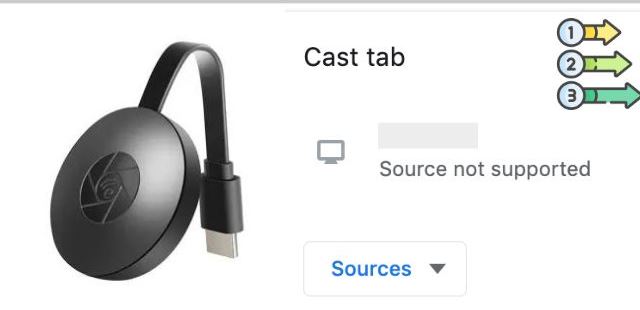
Chromecasts has created a lot of buzzes since it has come out. It is the device that facilitates connecting your phone with the TV. You can watch everything on a large screen. But Chromecast does face some glitches with time. A common error that people face is when the source is not supported. In this article, we will be discussing fixing the ‘source not supported’ error.
Steps To Fix The Chromecast Source Not Supported
A. Restart The Chromecast
Step 1: Disconnect the TV & the Chromecast
Start by disconnecting all the devices first. Unplug the TV and all the devices connected to it. Remove the Chromecast from the connection as well.
Step 2: Turn off Wi-Fi.
Switch it off to disconnect the network. Take out the cables from the modem as well. Do the same thing for routers as well.
Step 3: Wait for some time
After you disconnect all the devices and the network as well, wait for some time.
Step 4: Turn on the Wi-Fi
Starting with the Wi-Fi first, plug back all its cables. Make up the whole setup and turn it on.
Step 5: Connect TV and Chromecast
Now you need to join back the TV and the Chromecast that you disconnected earlier.
Step 6: Test it
Wait for a while before moving ahead. Now, test if the Chromecast is working now or not.
If this does not work, look for the next solution.
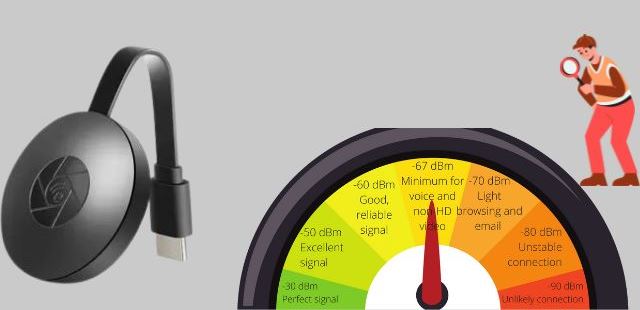
B. Check The Wi-Fi Signals
C. Same Connection
D. Similar network
E. Low bandwidth
F. Clear The Cache Of The Casting Application
The steps for it are:
Step 1: Go to Settings
Start by clicking on the ‘settings’ option on your mobile.
Step 2: Open ‘App Manager’
Scroll down and look for ‘app manager’ from there.
Step 3: Find the app
Now look for the app that you use for Chromecast
Step 4: Open ‘app settings’ & ‘force stop’
Then click on ‘app settings’ and press the ‘force stop’ option.
Step 5: Go to ‘Storage’, clear data & cache
Next, you need to click on the ‘storage’ button. Then clear the data and cache as well.
Step 6: Run the app
Start running the app again to see if it worked. There is one more solution if that one didn’t work for you.
G. Check The Mirroring Settings For Your Chromecast
Step 1: Open Chrome
The first thing to do is open the Chrome browser on your phone/laptop.
Step 2: Search for “chrome://flags”
On the search tab, search for “chrome://flags”
Step 3: Find ‘mirroring’
By using the shortcut key ‘Ctrl +F’, look for ‘mirroring’
Step 4: Enable settings from ‘mirroring service’
Click on the ‘mirroring service’ and press ‘enable.’ Now, try the chrome casting process again. If this didn’t work for you either, you may call for help.
How To Fix On Different Models?
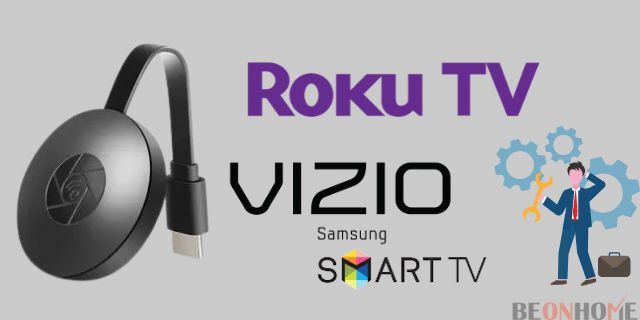
Now we will be discussing fixing this issue for different TV models.
1. Samsung TV
With Samsung TV, if the Chromecast source issue occurs, you may follow the above methods. Restarting devices and changing the mirroring setting might work. Check up on the networks as well. There are various other methods explained for other models as well. You can try following those ways for Samsung TV to see if one of them happens to work.
2. Roku TV
For a Roku TV, you may try the above solutions but there is one more. You can try doing some changes to the settings. This is the solution when you have google remote.
Step1: Click on the input – Use your google remote and press the input button.
Step 2: Click on your profile –From the remote, move to your profile icon and click on it.
Step 3: Click on ‘settings’ –Then from there, you need to click on ‘settings.’
Step 4: Click on ‘remote & accessories’ – Click on ‘remote & accessories’ and click on the set up remote buttons.
Step 5: Click on ‘Add device’ – Then click on the option of ‘add device’ to choose your brand. Just restart if it says, No devices found.
Step 6: Choose ‘Roku’ TV – Of all the TV brands showing chosen, Roku TV
Step 7: Save changes- For saving all the changes press the input button on your remote. This works in fixing the source problem. You can do similar for other brands as well.
3. Vizio TV
Again, you may try the above-discussed methods. But there is one more way out in the case of Vizio TV. You may try power cycling the device.
Follow these steps for the same:
Step 1: Press the ‘menu’ button – Take your Vizio remote and press the ‘menu’ button.
Step 2: Choose ‘system – After you click on ‘menu’, click on ‘system’ next.
Step 3: Click on ‘reset & admin’ – Click on the ‘reset & admin’ to move ahead.
Step 4: Click on ‘Soft power cycle’ – Finally, you have to click on ‘soft power cycle’ to start the process After a moment, your TV will go off and restart again. That indicates the power cycling process is completed. Now you can try Chrome casting again.
4. Mac
After trying all of the above methods, you may have a look at the settings of the software. Before that, make sure you have the Chromecast app downloaded.
Then follow these below-explained steps:
Step 1: Click on the ‘set up’ button – Open the app and click on the ‘set up’ button
Step 2: Go to ‘applicable setup’ – Next, you need to click on the ‘applicable setup’ option.
Step 3: Choose a country –From the drop-down list showing, select your country.
Step 4: Match code – Check that the code appearing on TV and the app is the same
Step 5: Confirm & Chromecast – Confirm the pop-up notification. Then try with Chrome casting. That was the way that a Chromecast works on Mac. You may try following that you solve your source issue.
5. Sony TV
For Sony TV, one of the above discussed can work out fine. There is a no different approach for this model. Try testing each of the above approaches. Make sure all the apps are updated. Keep your devices scanned and virus free.
Final Talk
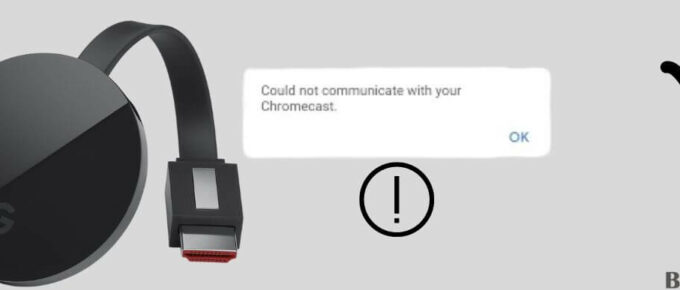
Now you are well versed with all the information about Chrome casting source errors. We also discussed this problem with various brands. If your TV brand is missed out, you can still try the above-mentioned methods. If after trying everything, the issue persists, it means Your Tv is not communicating with Chromecast. you can call the technician.


Leave a Reply