Connecting a Netgear nighthawk with CenturyLink is not a hard task to bear if you have detailed steps, it will help you understand. That is why we have got a guide for you after researching our way on how to connect Netgear nighthawk to CenturyLink. Go through all the steps and start working on your device.
Connecting Netgear Nighthawk With Centurylink: Step By Step Method
Quick Navigation
Here are the steps that could give you an idea of how you can connect Netgear Nighthawk with Centurylink. Please read them all and understand, as it will be easier for you to connect the device.
Step1:
The first step to connect the device to Netgear Nighthawk with CenturyLink, open the internet browser and type routerlogin.com in the search box that appears in the browser. After the website opens up, you will need to set the username and password for your ID, and a new page will open.
Step2:
After entering the username and password, log in to the account, choose the advanced setting, and then choose the internet. You can easily find it; just look right on the PC. When you click on the internet, it will get you to a new page where some information needs to be added. You must select the country, transfer mode, and other options. Discard the idea of using an app as it can lead to a waste of time and can test your patience that is why using an internet browser is the best choice.
Step3:
After mentioning the country, transfer mode, and DSL mode, the next step is to select the internet from the menu that is mentioned above the transfer mode. By completing it, mark the boxes, enable this interface, and use the VLAN ID; while doing so, do not forget the router’s features, as most of them cannot handle CenturyLink.
Step4:
It is important to see and check what options you are choosing to Connect Netgear Nighthawk With Centurylink. After putting up the location, there will be two options beneath the transfer mode choose VDSL(PTM), and for DSL, choose VDSL2. After that, you will have two parts left, the first one is a question regarding the connectivity and the second one is encapsulation. Fill out PPPoE and select it. Under that, you will have to put your login ID, password, and 0 in the idle timeout.
Step5:
While moving to the next point, there will be a display of the first option where, ‘Get dynamically from the ISP’, so choose that option under the Internet IP Address and then choose Automatically from the ISP in the domain name server.
Step6:
The next step is to choose options from the Network Address (choose to enable) and from the Router MAC address, choose Default Address, i.e., the first option. It is the last option that you will need to select and read these steps before selecting any option. This can lead to different usage. Once you complete and filled all the sections, scroll up again and click on the apply button.
If you want to boost your century link internet speed, there multiple ways to do so.
Connecting Netgear Nighthawk ac1900:
Look for the guide mentioned above for the detailed steps and a clear understanding on how you can connect the Netgear Nighthawk ac1900 with CenturyLink fiber.
The steps are not different and do not vary from model to model. While reading the steps, you can take notes so that you do not have to read the full paragraphs repeatedly, which will also help you save time.
Connecting Netgear Nighthawk With r7000 ,d7000, c7000
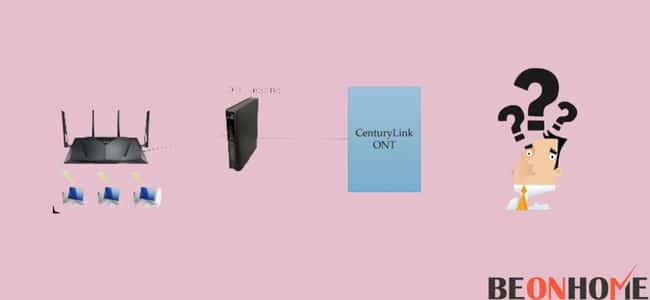
To connect the Netgear Nighthawk With r7000 ,d7000, c7000 Centurylink fiber, follow the steps that are mentioned below, and do not forget to pay attention to each step:
- The first step is to connect the Netgear nighthawk by contacting the support team of CenturyLink fiber and getting the username and password of your PPP.
- Also, while contacting the support team, ask about your VLAN, as they can provide accurate information.
- After getting the username and password, plug off the router you got from CenturyLink and plug in the new device by attaching the same cables and wires.
- Before touching the cable, switch off the plugs, and then after putting back the wires in, wait for a minute or two and turn on the router.
- The next step is to set up the Netgear nighthawk; for that, you can look up the steps mentioned in detail.
Final Talk
We hope you understand how you can connect the device to CenturyLink easily. This guide will surely save you time as we have tried to mention the steps that are easy to follow. We hope it helped you in some way, and you can look up the steps.

Leave a Reply