There is no doubt that Apple’s HomeKit is one of the best smart home devices available in the market. Not only it is the most secure option out there but it is also easy to integrate if you already use Apple’s products. Unfortunately, Apple’s HomeKit does not support vacuums. That means you can’t connect Irobot Roomba with HomeKit. But there is a way you can make this work with the help of HomeBridge. The most popular option out there is the HOOBS HomeBridge hub.
Steps To Connect Irobot Roomba With Homekit
Quick Navigation
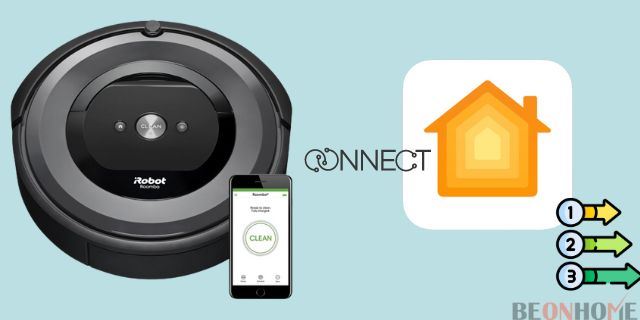
There are two ways you can integrate your non-supported device to work with your Apple HomeKit:
1. The first way is with the help of a computer. In this method, you will have to leave your computer on 24/7 and on top of that it is a bit complicated. We don’t recommend this method as it is very inefficient to leave your computer on 24/7.
2. The second method is to set up a HomeBrdige hub by using a separate device. You will have to purchase a separate device but it will be more efficient compared to the previous method. All you have to do is to plug and connect it with your network to complete setting it up.
Steps To Connect With s9+ Homekit
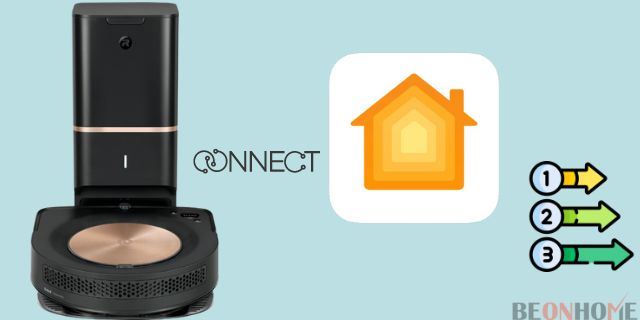
iRobot’s Roomba S9+ is a premium device that comes with a ton of great features. Including the camera-based sensor, it also got various other sensors that allow it to clean our homes more efficiently. Not only that, but it also has a self-emptying dustbin. So the question arises, how can you integrate this Roomba to work with your HomeKit?
To do that we recommend using HOOBS as it allows us to connect any device to work with Apple HomeKit. HOOBS is easy to set up and you don’t require any technical knowledge.
Here’s how you can integrate your iRobot Roomba S9+ to work with your Apple HomeKit:
a. Connect with your Home Network: The first step is to connect your HOOBS with your Wi-Fi network. To do that, turn on the device and wait for 2-3 minutes. After it is done initializing, connect it to your HOOPS network by opening the WI-Fi settings on your phone or computer. After this, a popup window will appear. Now you will have to select your Wi-Fi network and enter its password. Now your HOOPS should be connected to your WI-Fi network.
b. Open the HOOBS interface on your browser: Go to your browser and enter http://hoobs.local. (without quotes) You will have to enter “admin” as your username and password if you are using HOOPS for the first time. These settings can be changed later on. Now you will need to install the correct plugin.
c. Install the Plugin: After you have logged in you will have to locate the plugins tab on the left side of the screen. Search for “Roomba Stv” in the search section. You will notice that this plugin is HOOBS certified meaning you don’t have to worry about its functionality. Click on the install button and wait for a few seconds for it to finish.
d. IP Address of the Roomba: Now you will have to find out the IP address on your Roomba. To do that, go to your iRobot app, and then go to Settings > Wi-Fi Settings > Robot Wi-Fi details. Note the number in the IP address section. It will be something like this – 192.168.xx.xx.
e. Configure the Roomba Stv Plugin: Click on the three dots you will find on the right side of the page, and then click terminal. There you will have to copy this command “cd/home/hoobs/.hoobs/node_modules/dorita980 && npm install && node ./bin/get password.js “192.168.x.x”. Replace “192.168.x.x” with your Roomba’s IP address we obtained before. Now press enter and wait for a minute.
You will see a few warning signs but you don’t have to worry about that. Don’t press any button once that’s done running. Now you will have to press and hold the “Home” button on your Roomba for a few seconds until the wifi icon flashes.
After this head back to your HOOBS page and press any key. If your command was correct, you will see a message. But if you got an error, just repeat the 3rd and 4th steps. Note down the BLID and password. Now head back to the settings on your HOOBS page and click on Roomba. Click on “Add Accessory” and fill in columns with the information we got previously. Enable “Yes” for “Auto-refresh”.
If you want to save battery, select “No” for “enable keep-alive”, otherwise select “Yes”. Set “30” for “TTL cache”. If you want to learn more about these settings, then you should check out plugin documentation. After this, your Roomba is finally connected with HOOBS. You can find your Roomba under the “Accessories” tab as unassigned. You will be able to see your Roomba’s battery. Now you can finally control your Roomba from your Apple HomeKit.
Steps To Connect With e5 Homekit
iRobot’s Roomba E5 is a basic well-built vacuum that does its job reasonably. One of its benefits is that it charges fast. If you are looking for a basic vacuum, then the iRobot’s Roomba E5 is a good choice.
Unfortunately, this doesn’t support the Apple HomeKit, so you will have to use HOOBS to make it work with Apple HomeKit. The steps to integrate your E5 to work with your Apple HomeKit are the same as mentioned above.
Steps To Connect With Homekit 960
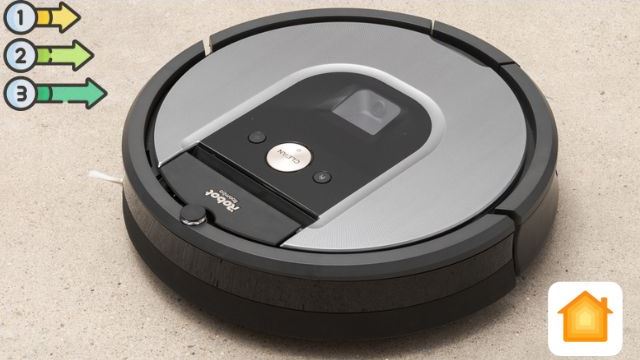
iRobot’s Roomba 960 is a robot vacuum that is pretty good at navigation and is relatively quiet while cleaning. Not only that, but it can also handle different types of floors. It is also supported by both Amazon Alexa and Google Assistant.
Unfortunately, it doesn’t natively support the Apple HomeKit. So you will have to use a HomeBridge like HOOBS to make it work with the Apple HomeKit. The steps to integrate iRobot’s Roomba 960 to work with Apple’s HomeKit are the same as before.
Steps To Connect With Homekit 980
iRobot’s Roomba 980 is one of their flagship devices that come equipped with powerful suction, a HEPA filter, long battery life, and various other features. Just like the 960, it can be controlled using Amazon Alexa and Google Assistant.
Again, this one also doesn’t support Apple HomeKit. So you will have to rely on HomeBridge like HOOBS to make it work. The steps to integrate iRobot’s Roomba 980 to work with Apple HomeKit are the same as mentioned above.
Final Talk
Integrating your Roomba to work with your Apple HomeKit can be a hassle but it certainly isn’t impossible. If you followed the steps properly, you should be able to control your Roomba from Apple HomeKit. Hopefully, in the future Apple HomeKit will support Roomba but for now, HOOBS does the perfect job.

Leave a Reply