When you are away, you are worried about your place or office and you buy a home security setup. The cameras installed as a part of the setup can always keep an eye on your desired place for you.
However, it would be of great benefit to you if you can connect your Nest camera with Homekit and you can access it anytime on your apple device and control it as per your requirements.
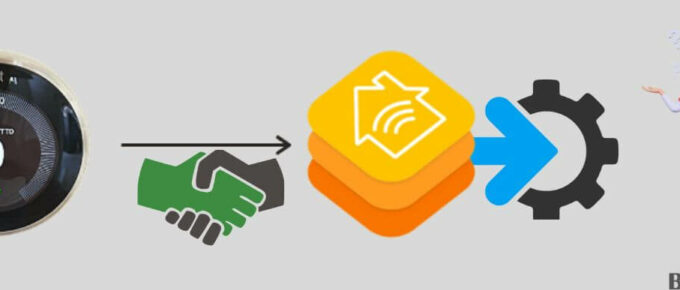
If you have trouble connecting HomeKit with Nest Cam, here is how you can Connect Nest Camera Apple with HomeKit. You’ll need a Homebridge hub and you can integrate them by linking to your Wi-Fi. Next, scan the OR code and connect both devices to the Home Bridge app.
Method To Add Nest Cam To HomeKit
Quick Navigation
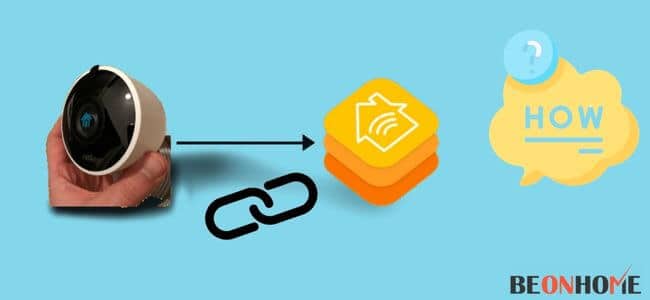
To connect Nest Camera with Apple Homekit, you will have to install a Homebridge hub so that it could work efficiently.
This Homebridge hub should be connected to the Wi-Fi network in your house to merge the products to your Homekit app. Let’s get started!
- Connect the Homebridge hub to your Wi-Fi router.
- The hub is provided with a power adapter, connect to the wall plug.
- On your device, access the Hub’s setup page. This information would be mentioned in the user manual of your hub.
- Create a Nest account if you are a new user. If you already have an account, you can easily sign in using that account
- Look for the QR code present on the hub.
- Scan that same code on your device.
- Follow the prompts that show up on your device screen
- Add the Nest camera to your Homekit.
- You can now access the live recording by commanding Siri on your device.
Using Homekit With Nest: Are They Compatible?
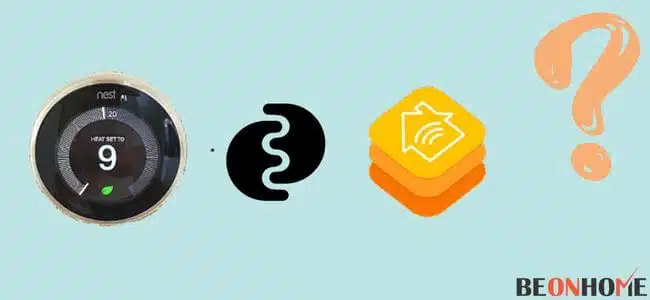
The Nest products are very beneficial and provide the comfort of a smart home.
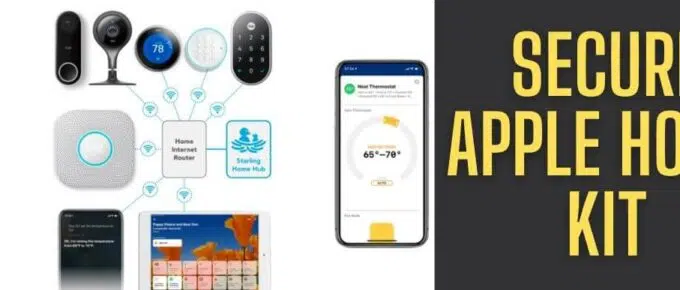
However, tough luck, the Nest products are not compatible directly with Homekit and hence a Homebridge hub or device is needed for them to work together.
By installing the Homebridge hub you can:
- have access to live camera recordings
- command Siri to access the integrated Nest products
- add automation as per your requirements
- set up notification alerts
- set up systems to monitor movement outside your place
Nest Products with Apple devices
- Nest devices show good compatibility with almost all Apple products.
- Nest devices can be very easily accessed and controlled by Apple products
- Make sure that the Nest device is properly installed
- Download the Nest app
- Add that specific Nest device to the Nest app
- And there you go! You are all set now and can easily manage your Nest devices by following the steps given above.
Starling Home Hub for Nest Camera
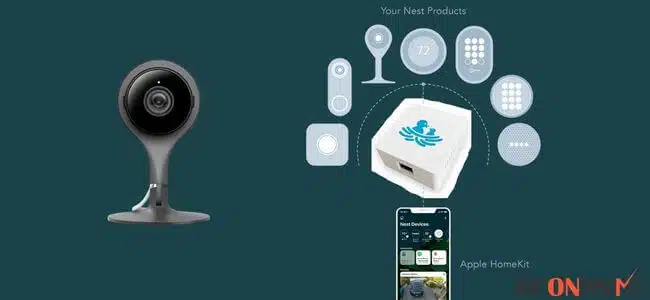
A Homebridge Hub is already mentioned above for using the Nest camera with Apple Homekit. However, we also recommend Starling Home Hub for your convenience. It has the following specifications:
- Easily integrates the Nest camera with the Homekit
- Works efficiently with other Nest smart products installed in your house.
- Secures your data and keeps it private as it does not track the login credentials
- Starling home hub does not use cloud computing services
- Works with almost all the routers
- Compatible with both Nest and Google accounts
Setting up the Starling Home Hub for Nest Cameras
- Connect the Hub to the router using the Ethernet Cable
- Connect the hub to an electrical outlet by adapter
- Open the browser on your device connected to Wifi
- Log on to setup.starlinghome.io
- The prompt will ask you to log in using your Nest or Google account
- Check for the QR code present on the Hub
- Scan this code using your Apple device
- Your device will generate a message which tells you that the product is not certified by Homekit.
- Ignore the notification and add the Nest camera.
Nest Camera Privacy Protection
- Starling Home Hub provides total data security to the customer.
- Since Starling Home Hub does not store your credentials and data, there is no chance of leaking or hacking.
- Starling installs the firmware updates using the internet and never makes any attempt to collect your private data
Troubleshooting the possible issues during the integration of the Nest Camera
1. Camera not responding: this is quite a common error generated even if your camera is working fine.
- One reason could be heavy network traffic
- Router misconfiguration’
- To fix this, you need to make sure that there are no obstructions between the hub and other connected devices
2. Uncertified accessory:
- This message is generated on your device while you are in the middle of the setting up process
- You just need to ignore this notification and add it anyway
- Being uncertified does not claim that the device is insecure
3. No device available
- This happens when your device disconnects from your Wi-FI network
- Check for the WiFi sign on the top right corner of your device and connect the device to the network if it is not connected.
Final Talk
All you need to buy is a Homebridge hub and you can easily integrate the Nest products with the Homekit. After that, you can access it from your apple device anytime and from anywhere. Along with a nest camera, you can also connect a good home kit compatible smart lock to get yourself covered from all the mishaps.

Leave a Reply